Placement Tests
Oncord has developed a set of tools allowing you to run placements tests online on your website.
Here is what we'll cover in this tutorial article:
- How to setup the configuration?
- How to use our prebuilt templates?
- How does my placement tests look on the my website?
- Does the new course selector change the way placement tests work?
- How to create placement tests from scratch? (basic knowledge of HTML required) (article coming soon)
1. How to setup the configuration?
Before creating your placement tests, you first need to click on new set/age group at the top of the page. In general, this will allow you to set age group categories. This can be useful if you're running different placement tests for adults and children. As an example here, I am creating 2 sets, one for adults and one for children.
Once the set/age groups correctly set up, you have to create levels (A1,A2,B1,B2,C1,C2). This is how it's done.
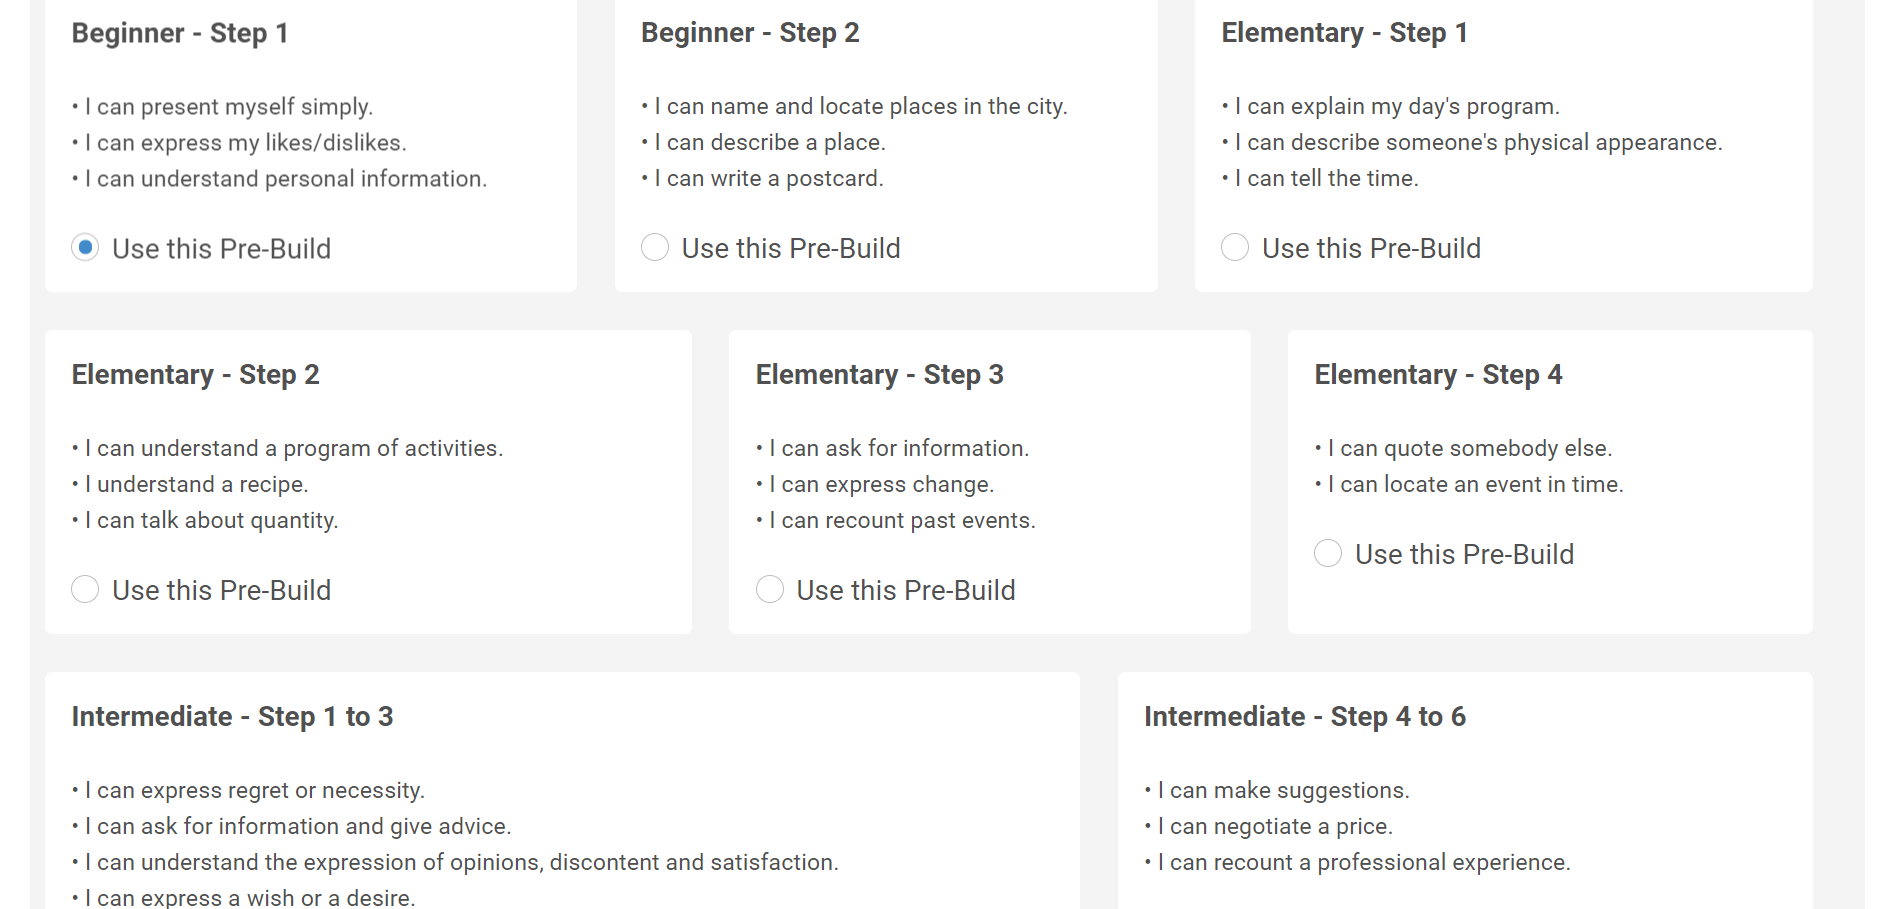
2. How to use our prebuilt templates? How does it work?
Once you're done with creating the age groups and the categories, you can now start using our built-in templates, click on + placement test at the top of the page, from there, you will be able to select a placement test from our templates ranging from A1 to C2.

We have created this placement tests with former AFs using Oncord in light of the CEFR language framework to enable students to get an accurate estimate of their level. Pre-build templates, range from Beginner (generally involving MCQs) to advanced level (audio listening and essay writing).
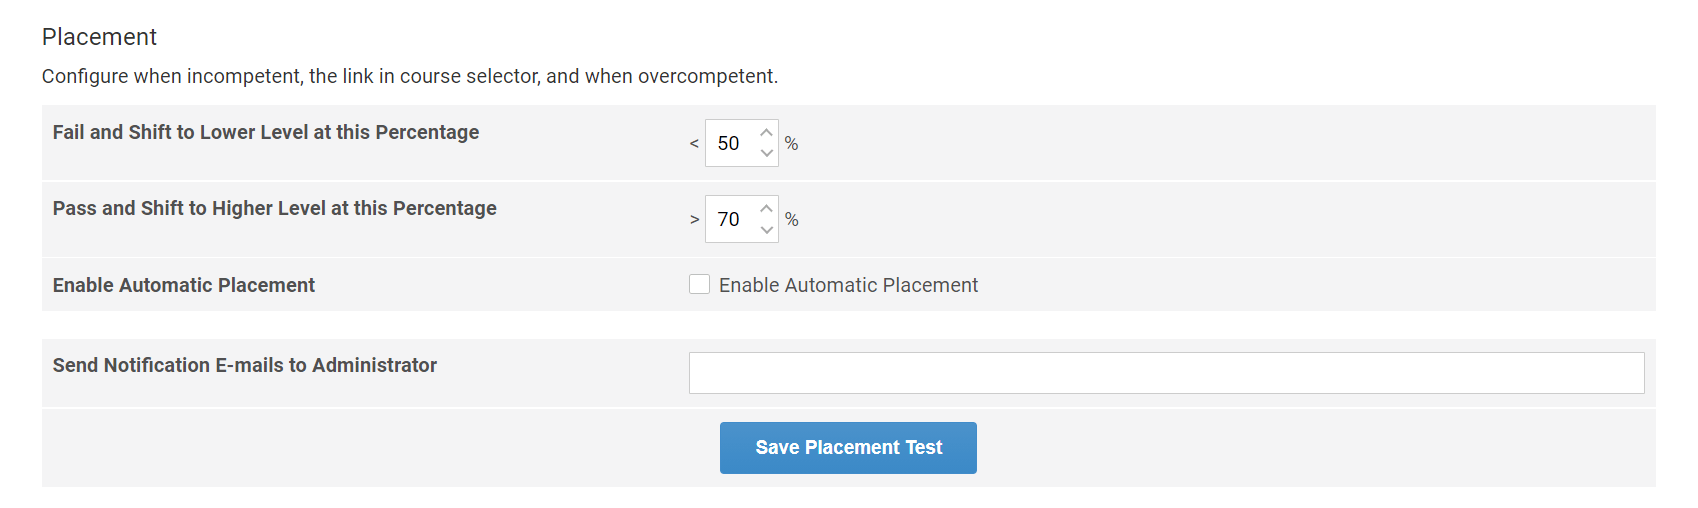
If you scroll down the page, you will see a placement test configuration box, this is where you can configure your placement tests. Oncord placement tests are adaptive to the student's level. As an example, if a student tries a B1 placement test, the default settings (see screenshot below) are set so that:
- If the student gets less than 50% of answers correct in total, then the student is shifted to the level under B1 which is A2 (or the level right below B1 ).
- If the students gets a score between 50% and 70%, then the student is considered able to take B1 class and therefore stays in that level.
- If the student gets a score higher than 70%, then that student is shifted to the level higher than B1 which is B2 (or the level right above B1).
This means that if a student continuously answers questions correctly, then the questions will get harder and harder. Likewise, if the students is not performing really well on the test, then easier questions are asked. This is done so that estimating a student's level is as accurate as possible.
On another note, clicking on "Enable Automatic Placement" means that if a student enter a placement test, then that student will be automatically placed in level of the placement test he passed.
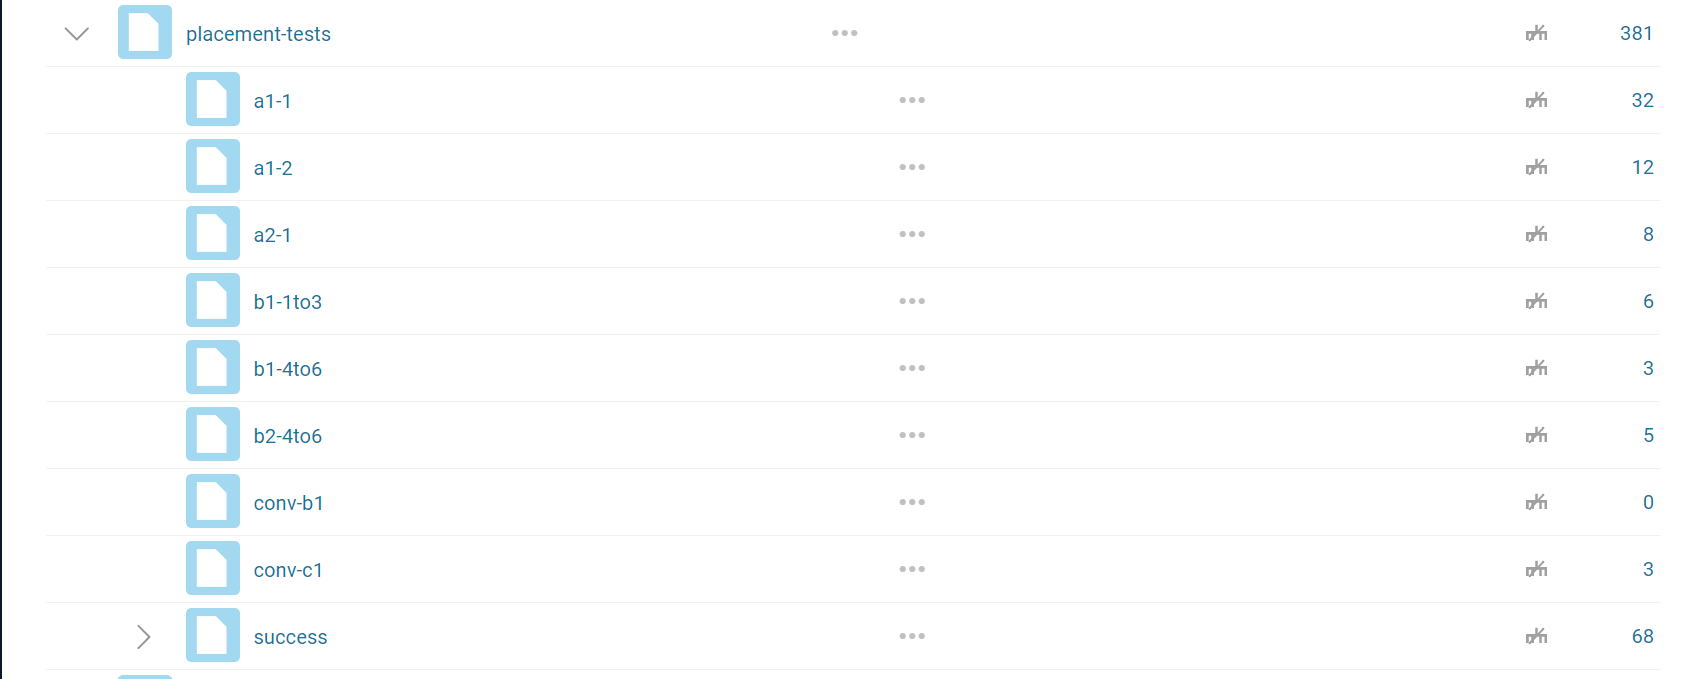
3. Where can I find my placement test on the website?
One of the automatic tasks that Oncord does for you is when you create a placement tests using our prebuilds. Oncord automatically creates
a corresponding page to that placement on your website. By default all your created placement test sit under a url like this:
afcity.com/placement-tests. Click here to see a demo placement test page.
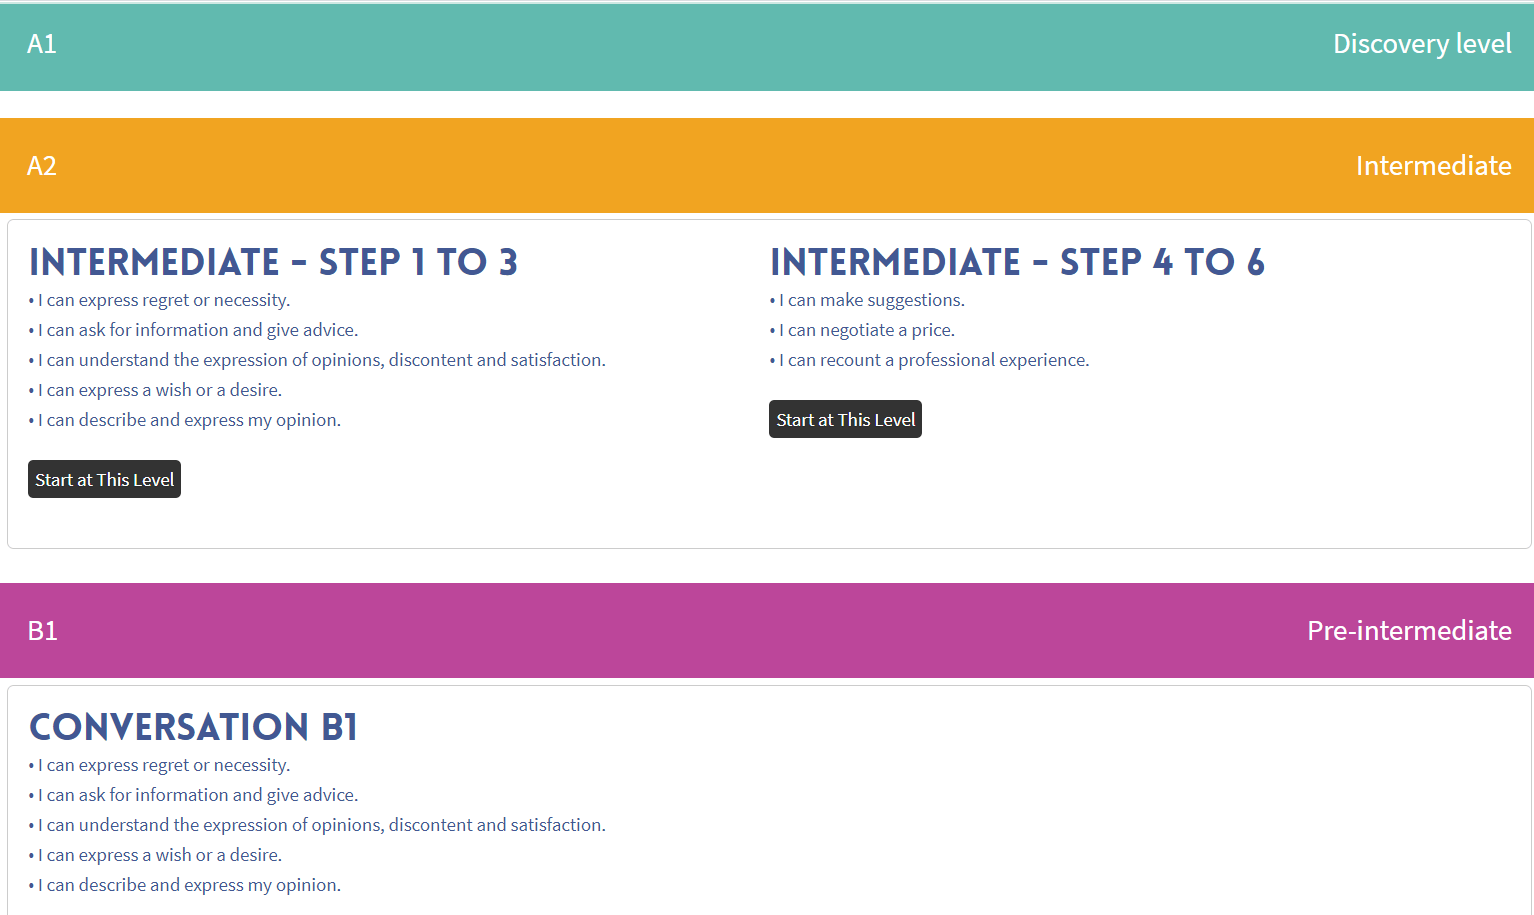
Here is an example of a Multiple Choice question as well, notice how the student is also able to manually update the difficulty of questions by click on "Stop! It's too difficult!" or "Stop! It's too easy" at the bottom-left part of the screen.

In the back-end of website, if you go into Website > Pages you will be able to see and modify all the placement test page that were automatically created by Oncord by click on the three dotsto the right of the page title.