Private Courses
Oncord Private Courses features allow you to create, sell, and schedule private packages on your website.
What we'll cover in this tutorial article:
1. How do I create private courses?
If you haven't watched the Oncord Basics tutorials yet, it is recommended to get to know Oncord workarounds before you start creating any of your private courses.
To start configuring your private course packages follow the steps below:
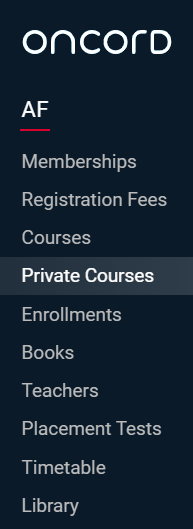
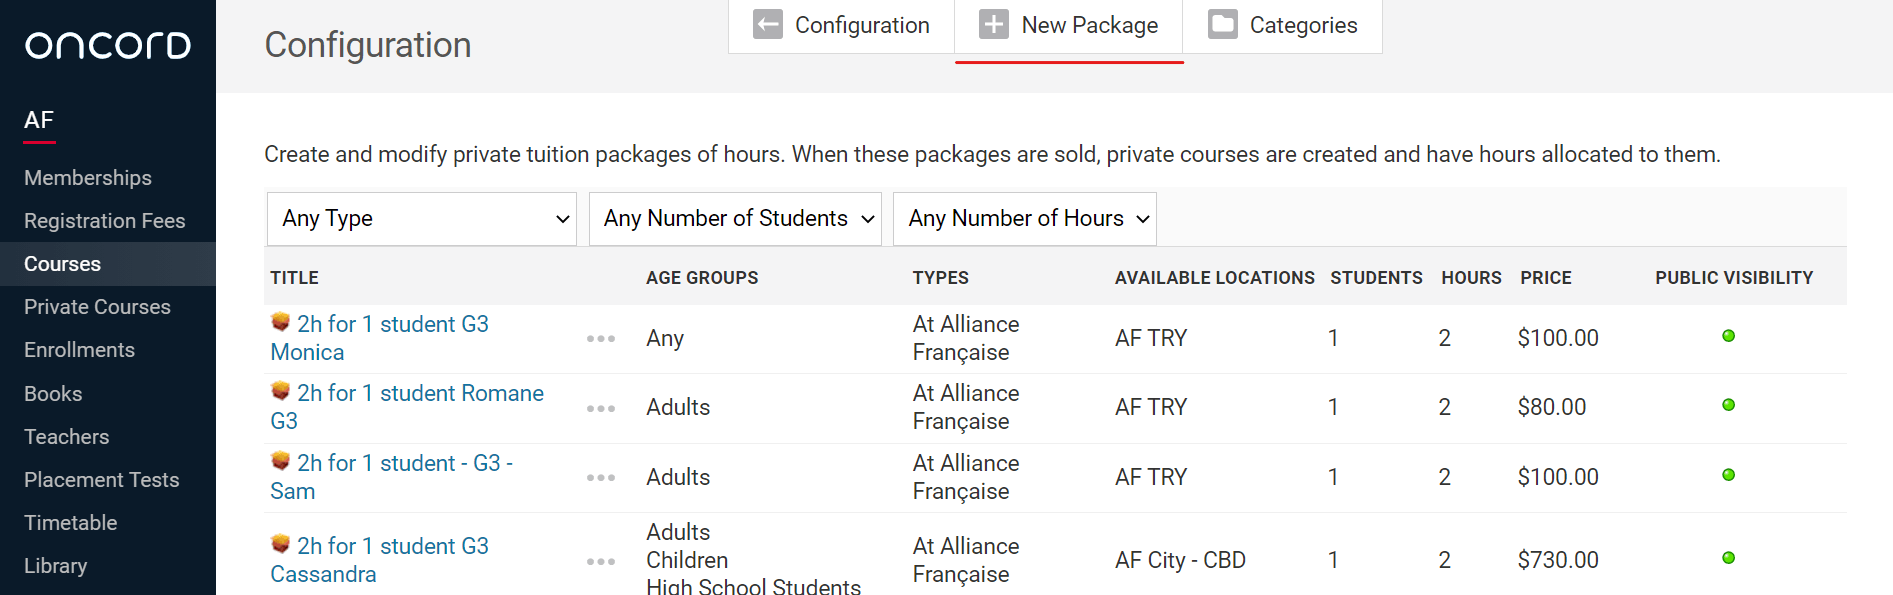
1. Click on "Private Courses" on the left hand side of the screen under the AF/IF Module
2. Then Click on "Configuration" at the top of the page
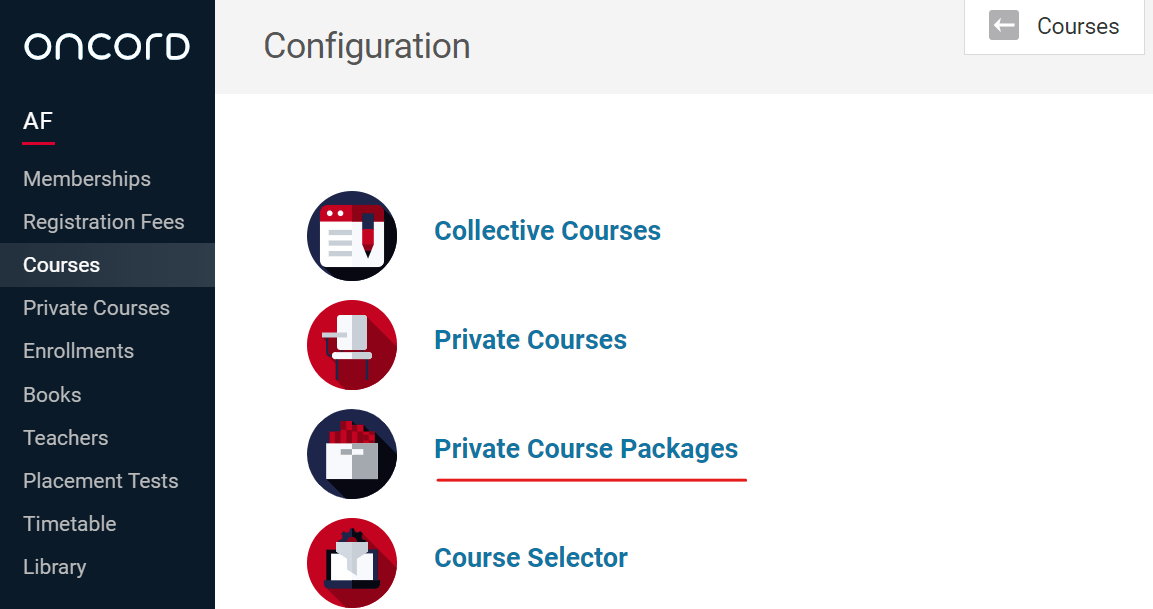
3. Click on "Private Course Packages"
4. Click on "New Package" at the top of the page
Note: You can create a new category by clicking on "Categories" > "New Category".
2. How do my private packages look online on the website?
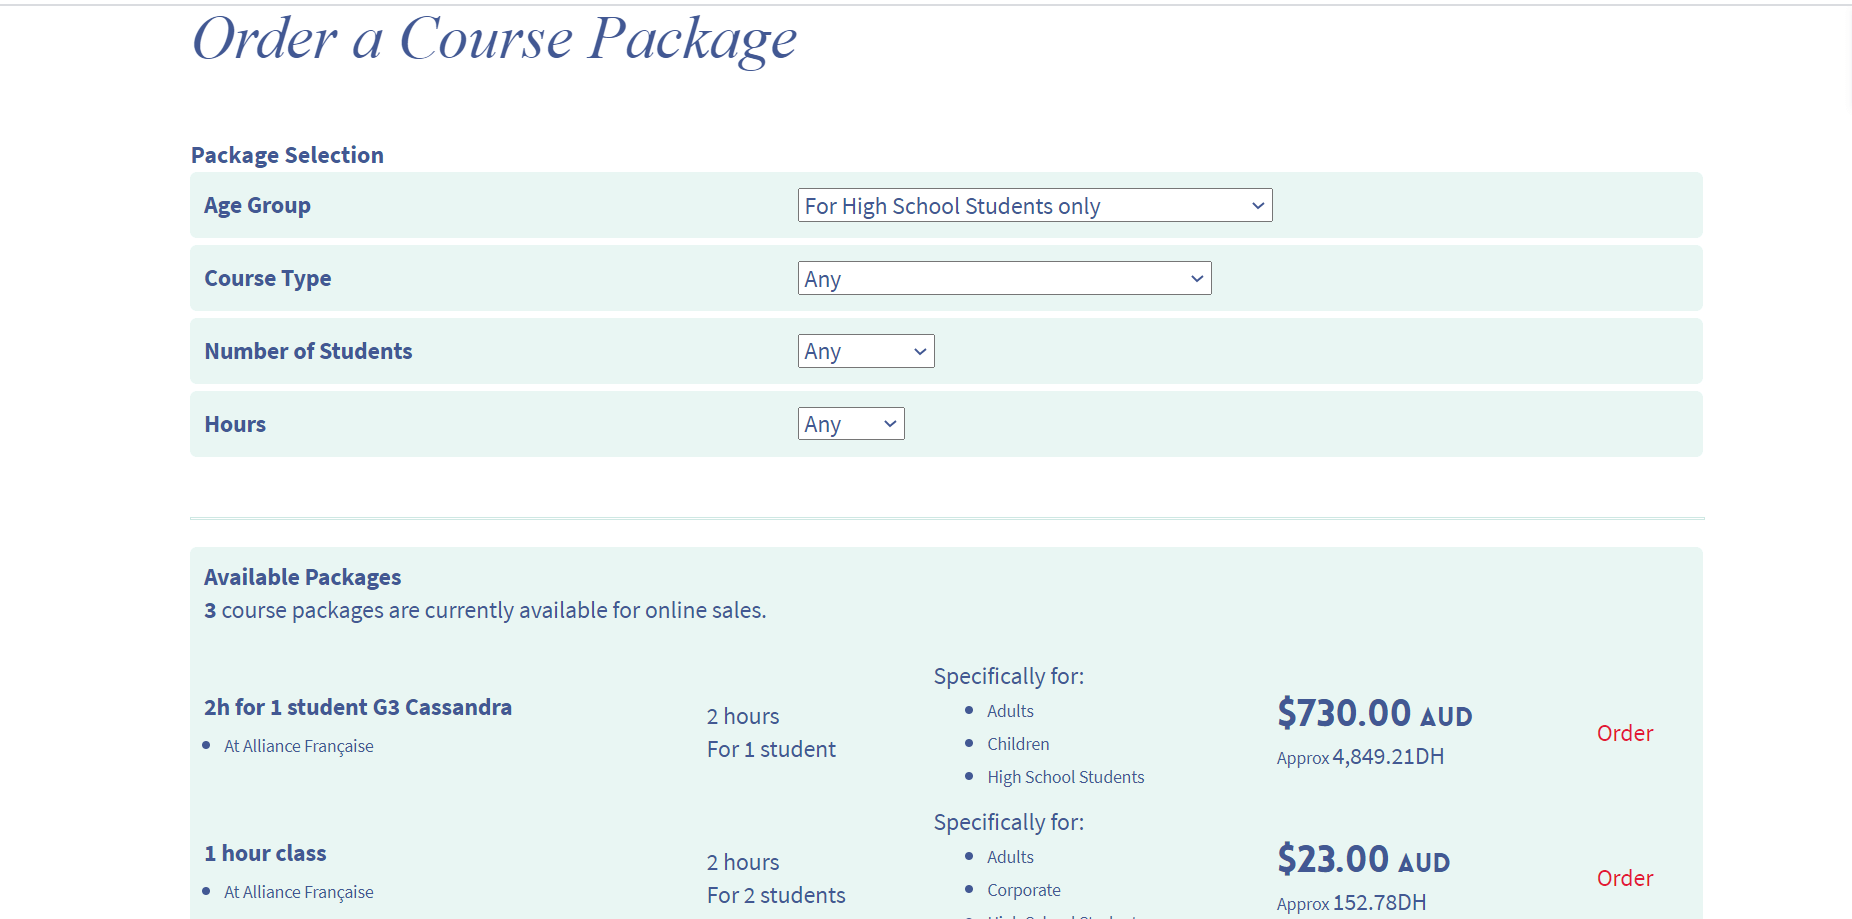
By default Oncord automatically generates a private course page where your private packages will sit. To access you private course page, just add /af/order-private-course/ to your site URL. As an example, if you site URL is afcasablanca.com, to access the private course page, the URL would be afcasablanca.com/af/order-private-course/.
Students will be able to choose from a range of private packages available by applying filters such as Age Group, Course Type, Number of Students, Hours.
Click here to see a preview of Private Packages on our demo site.
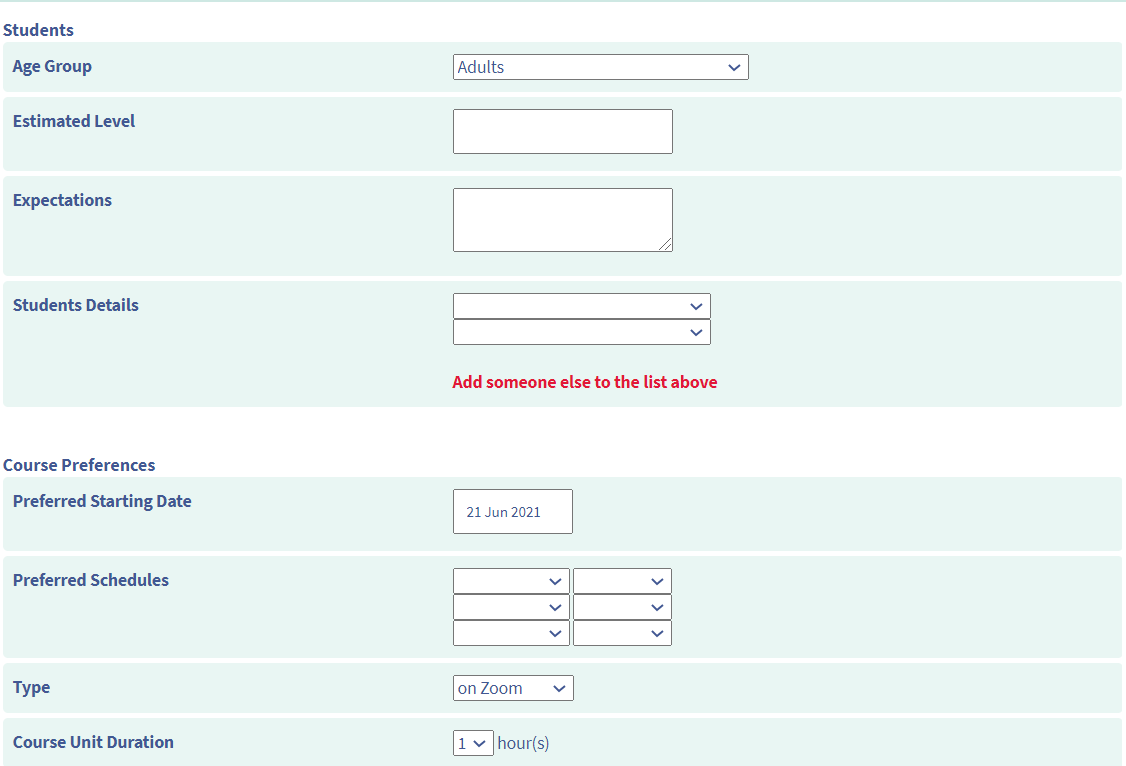
Once students select a private package they will be redirected to the ordering page which will enable them to set information/preferences
for their private packages such as their expectations, preferred starting date, preferred schedules and more.
3. Scheduling classes
Once a student has selected their private packages and paid for it, as an administrator you will have to schedule the classes to run. Here's how to do it:
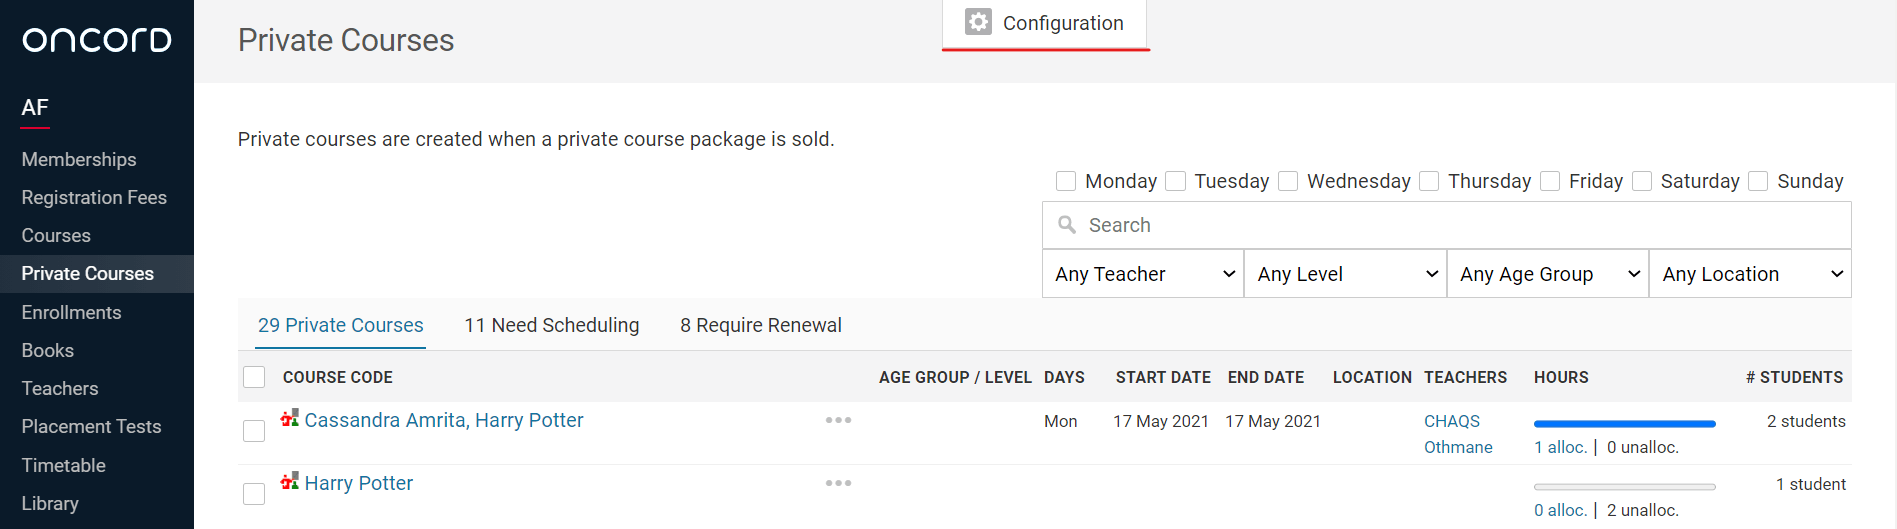
1. Click on "Private Courses" on the left-hand side of the sidebar then click on "Need Scheduling"
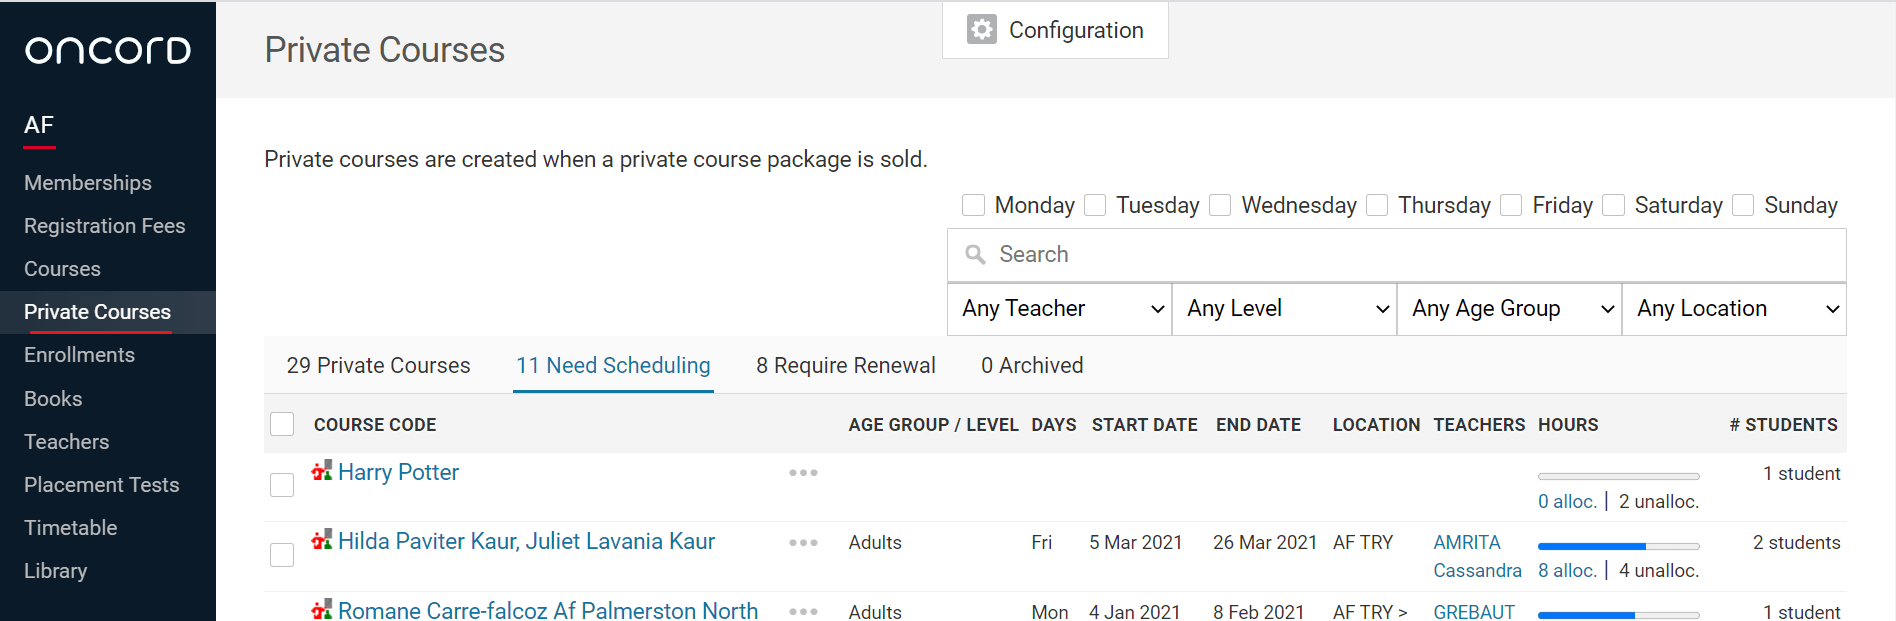
Note: This is your private courses dashboard. On the top right of the page you can filter your private courses by level, teacher, age group and more. Right under the filtering tab you will find:
- "29 private courses" means there are currently 29 Private Courses running at the alliance.
- "11 Need Scheduling" means there are 11 packages bought by students online which you will need to schedule.
- "8 Require Renewal" means 8 packages have been consumed and that require renewing.
- "0 Archived" means there are 0 packages that have been archived. Archived packages are just a way to separate current classes VS old ones.
2. After clicking on "Need Scheduling", click on any private package you wish to schedule. You will see a screen similar to the one below:
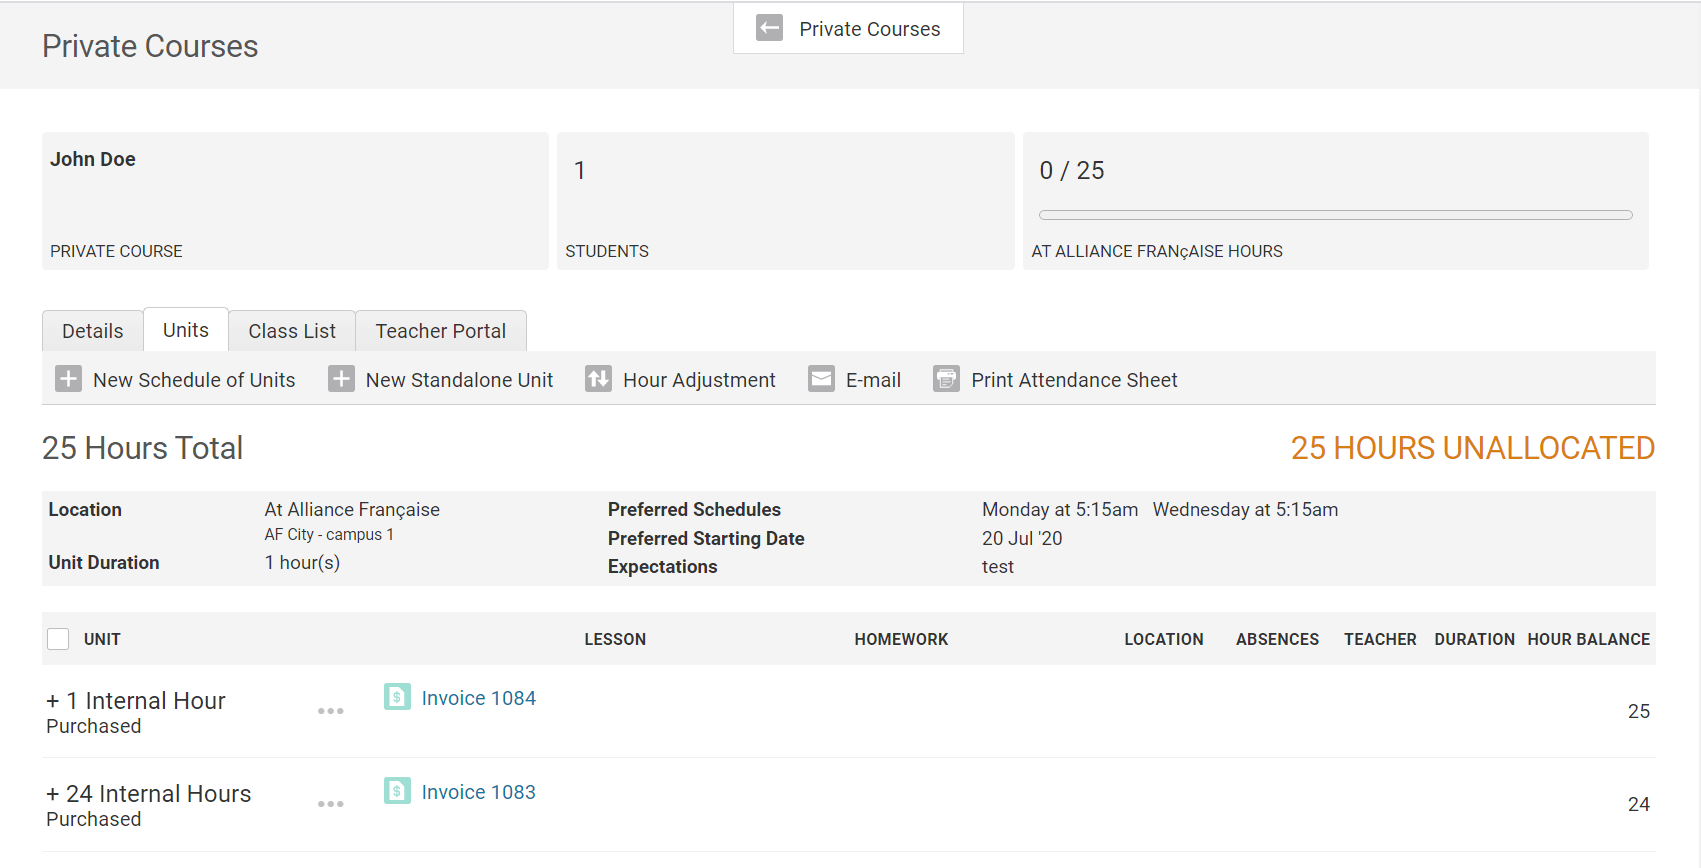
Note: The information on the above screenshot means a student "John Doe" bought 24 hours of private classes (Invoice 1083) and then additionally bought 1 hour of private classes (Invoice 1084). The student has also set his preferences for the location, the schedule, the starting date and the expectations. You will see at the far right the mention "25 hours unallocated" which means the 25 hours the student bought haven't been scheduled yet.
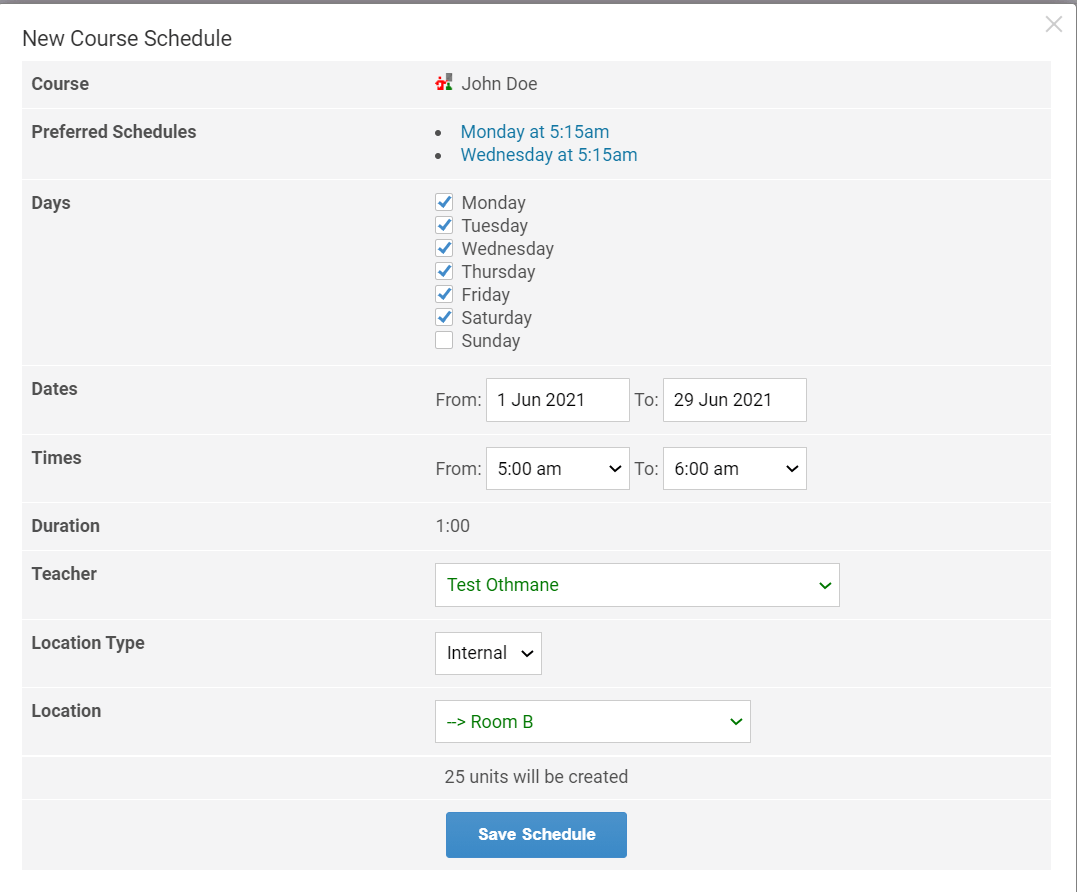
3. Under the Units tab click on "New Schedule of Units", this will allow you to allocate hours to units.
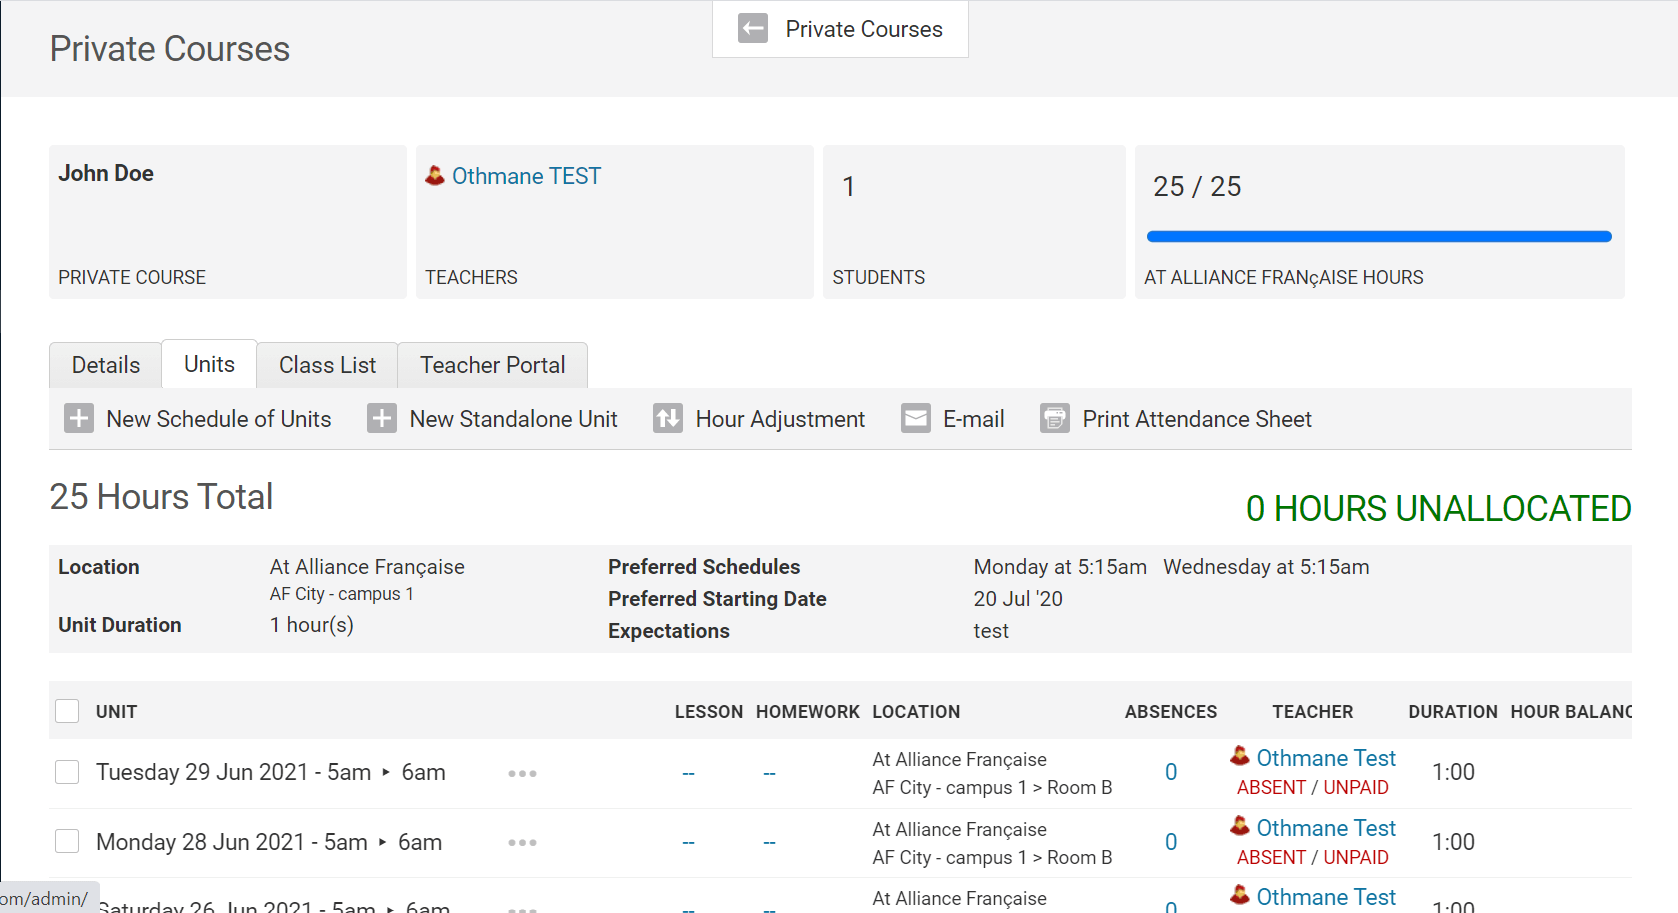
Great Job! you have now scheduled a private package. That package will no longer be visible in the "Need Scheduling" tab but
instead the "Private Courses" tab.

Notice on the far-left the mention "0 Hours Unallocated", which means are the hours that be bought (25 hours in our example) have all been successfully allocated to units.
Note: If for example, you made a schedule that is only of 24 hours instead of 25 hours, then Oncord will display to the right "1
unallocated hours".
![]() And
vice-versa, if you create a schedule composed of 26 hours instead of 25, Oncord will display the following text:
And
vice-versa, if you create a schedule composed of 26 hours instead of 25, Oncord will display the following text:
4. Configuration
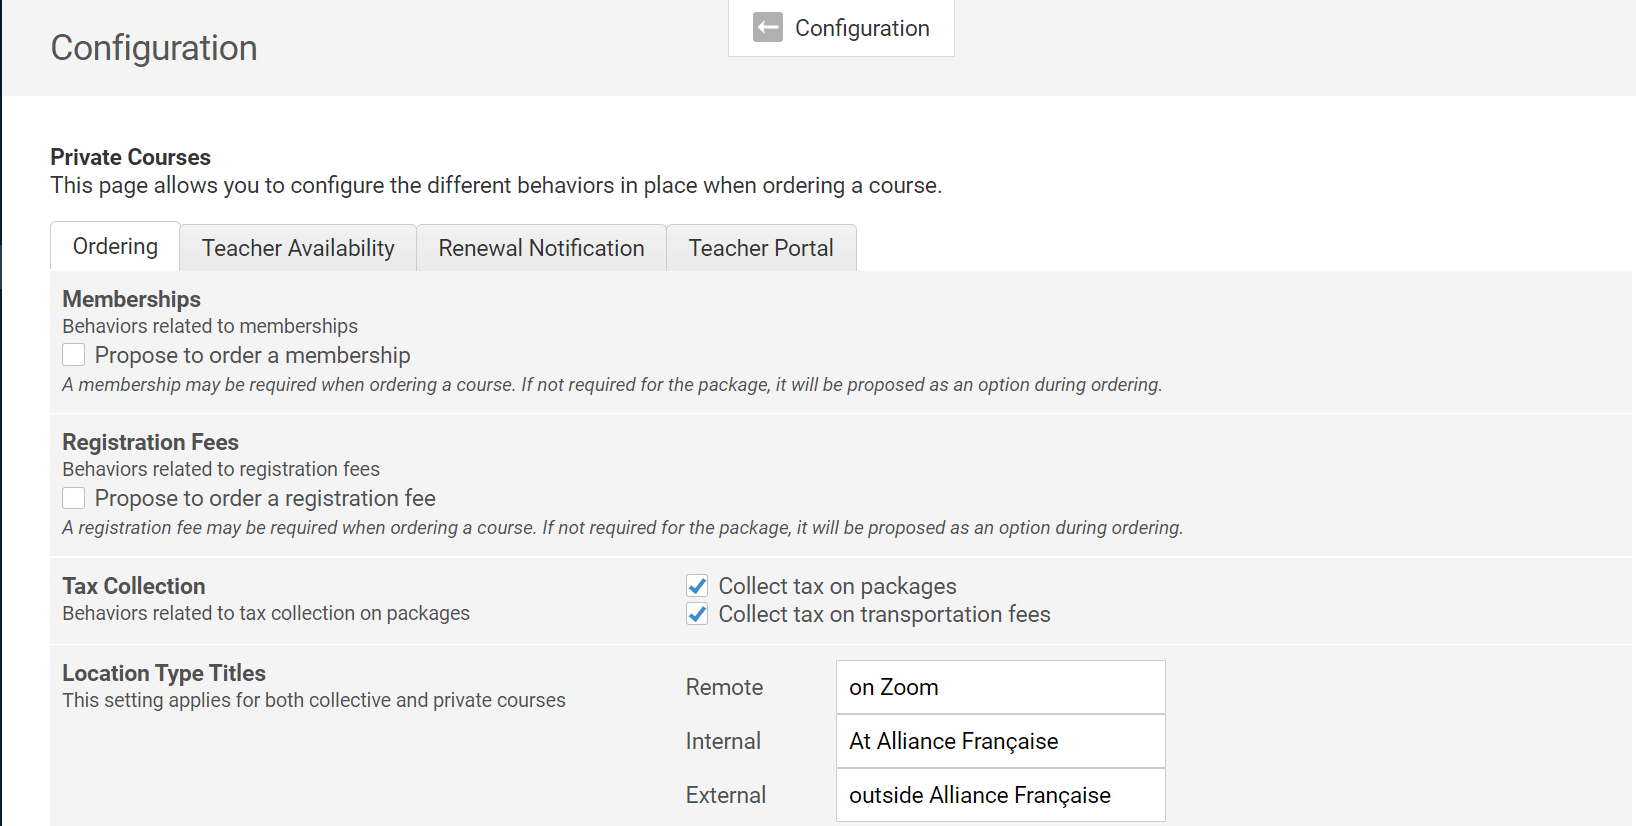
There are a number of parameters that you're able to modify regarding your private courses. Under the AF/IF Module, click on "Private Courses" > "Configuration" > "Privates Courses"
1. The Ordering Process
The first tab visible is the Ordering tab. There you can require students to buy a Membership or Registration Fee (or both) when they buy
their packages online. (Note this means an already existing member won't have to buy a membership again. The same applies
for Registration Fees holders.)
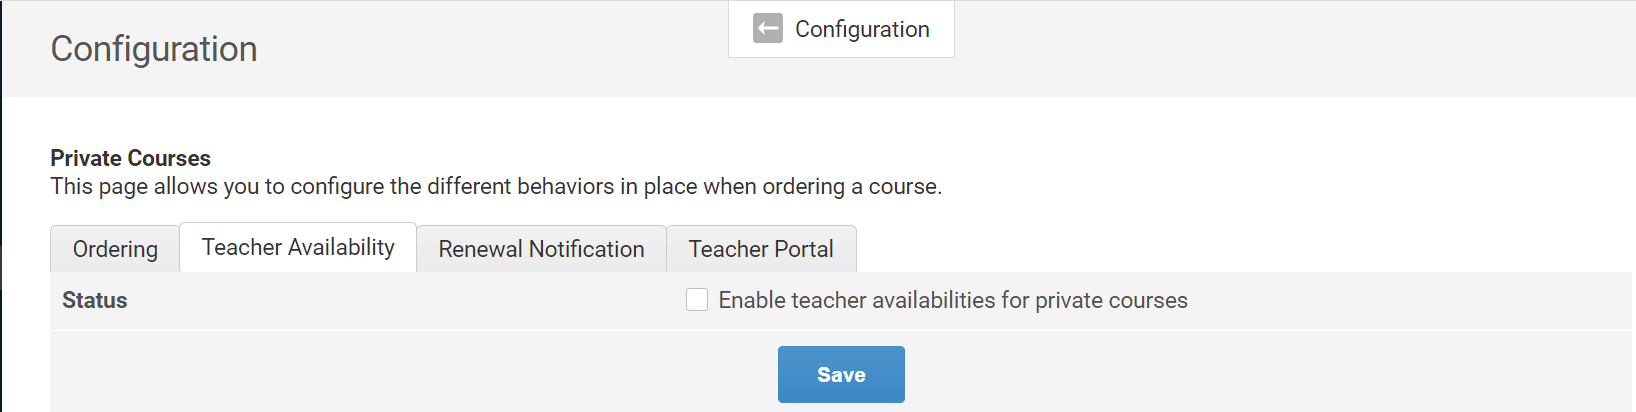
2. Teachers' behaviour
On the Teacher Availability tab, you can control teachers' availabilities for private classes. By default professors are all available unless you click on enable Availabilities.
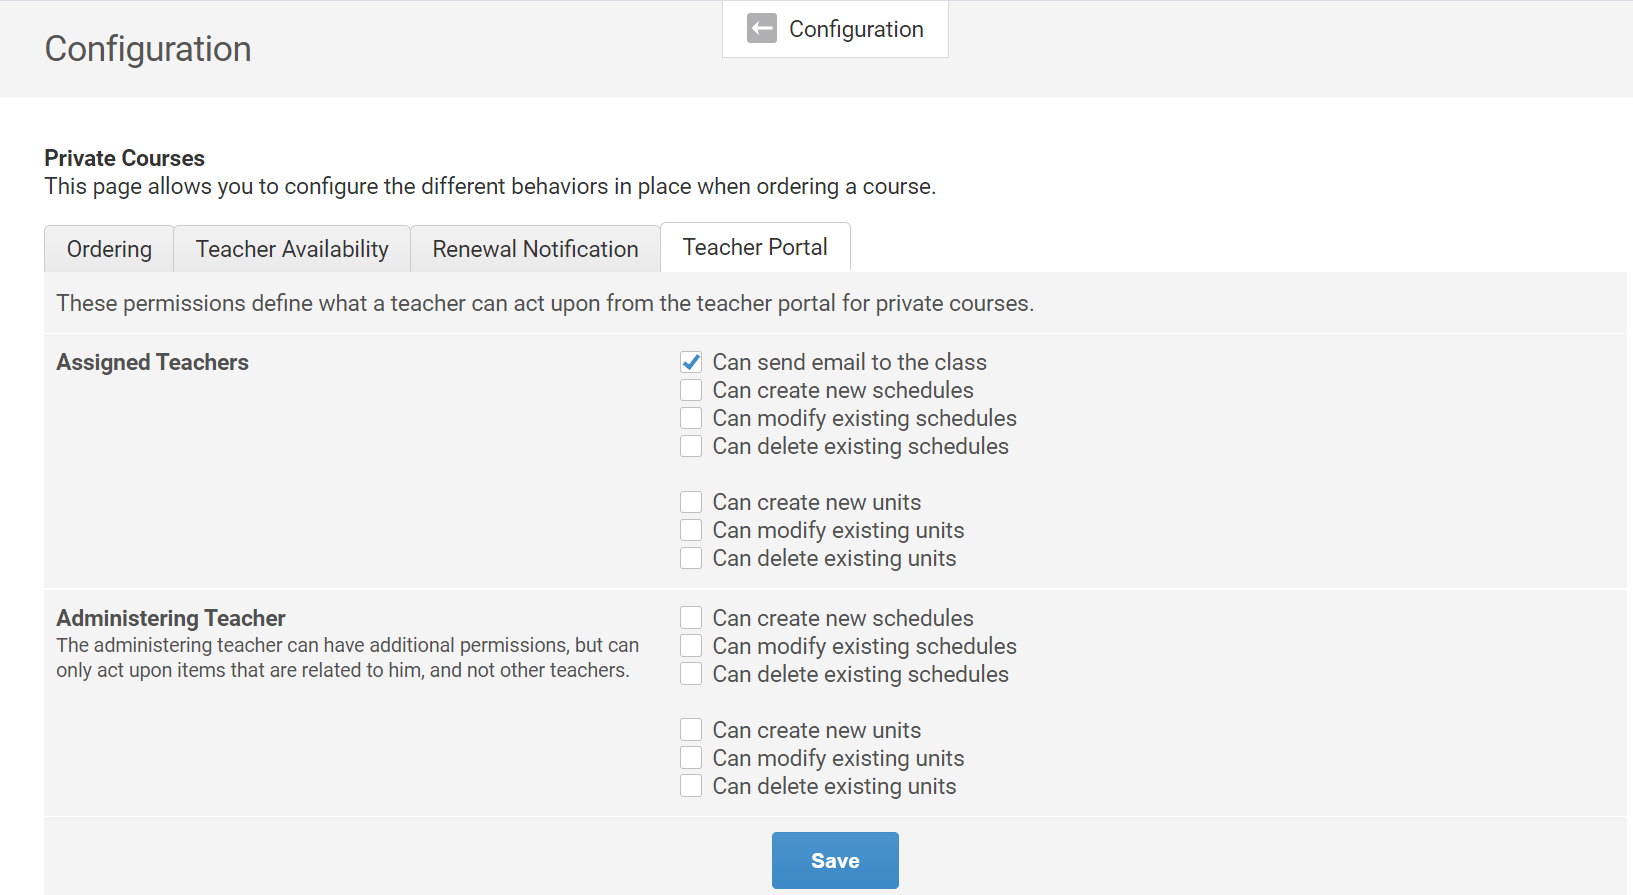
You can also set permissions for your teachers by clicking on the "Teacher Portal" tab, this will give teachers permissions to act on private classes in their teacher portal. For more information about the Teacher Portal, check this tutorial
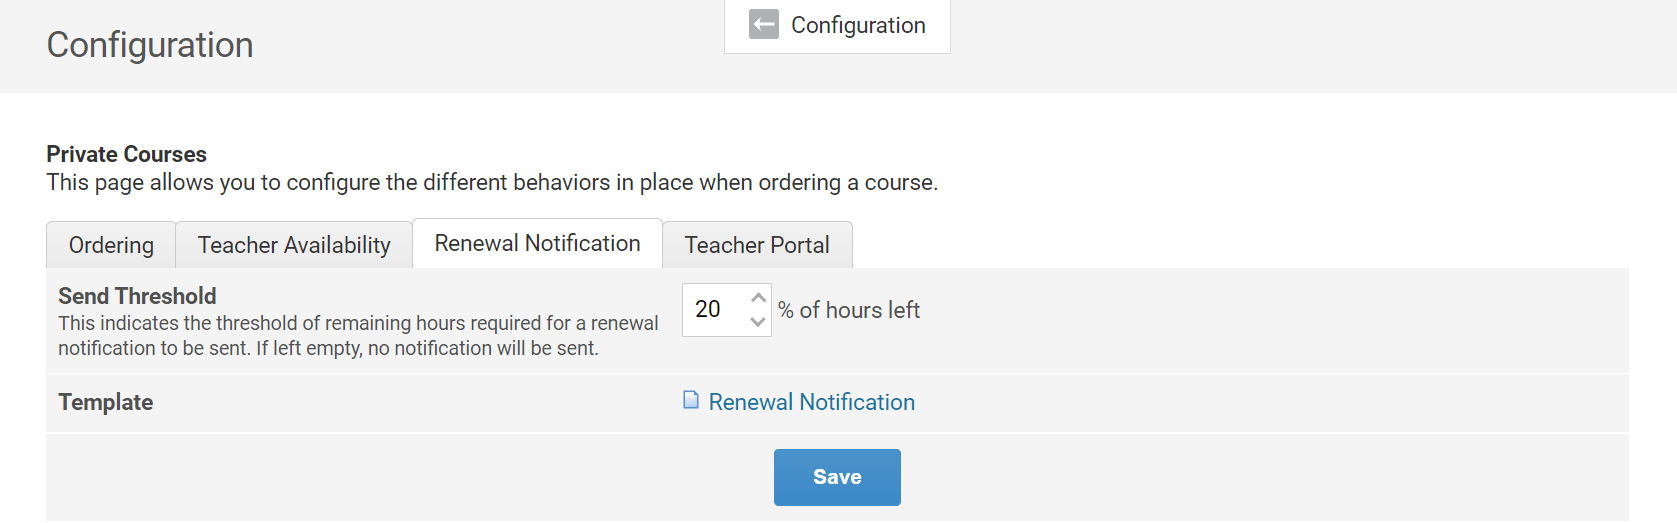
3. Renewal notification
Finally, clicking the "Renewal Notification" tab will allow you to set an automatic notification to be sent students upon reaching a certain threshold for their packages. In the example below, students will receive a Renewal Notification when they only have 20% of hours left to be done. Clicking on the "Renewal Notification" template will allow you to modify the notification content and style.