Group Course Configuration
Before creating any courses, you need to configure the settings within the Courses Module. The configuration is the most important aspect and constitutes the underlying base before you can successfully create, sell and run any courses within the Oncord platform.
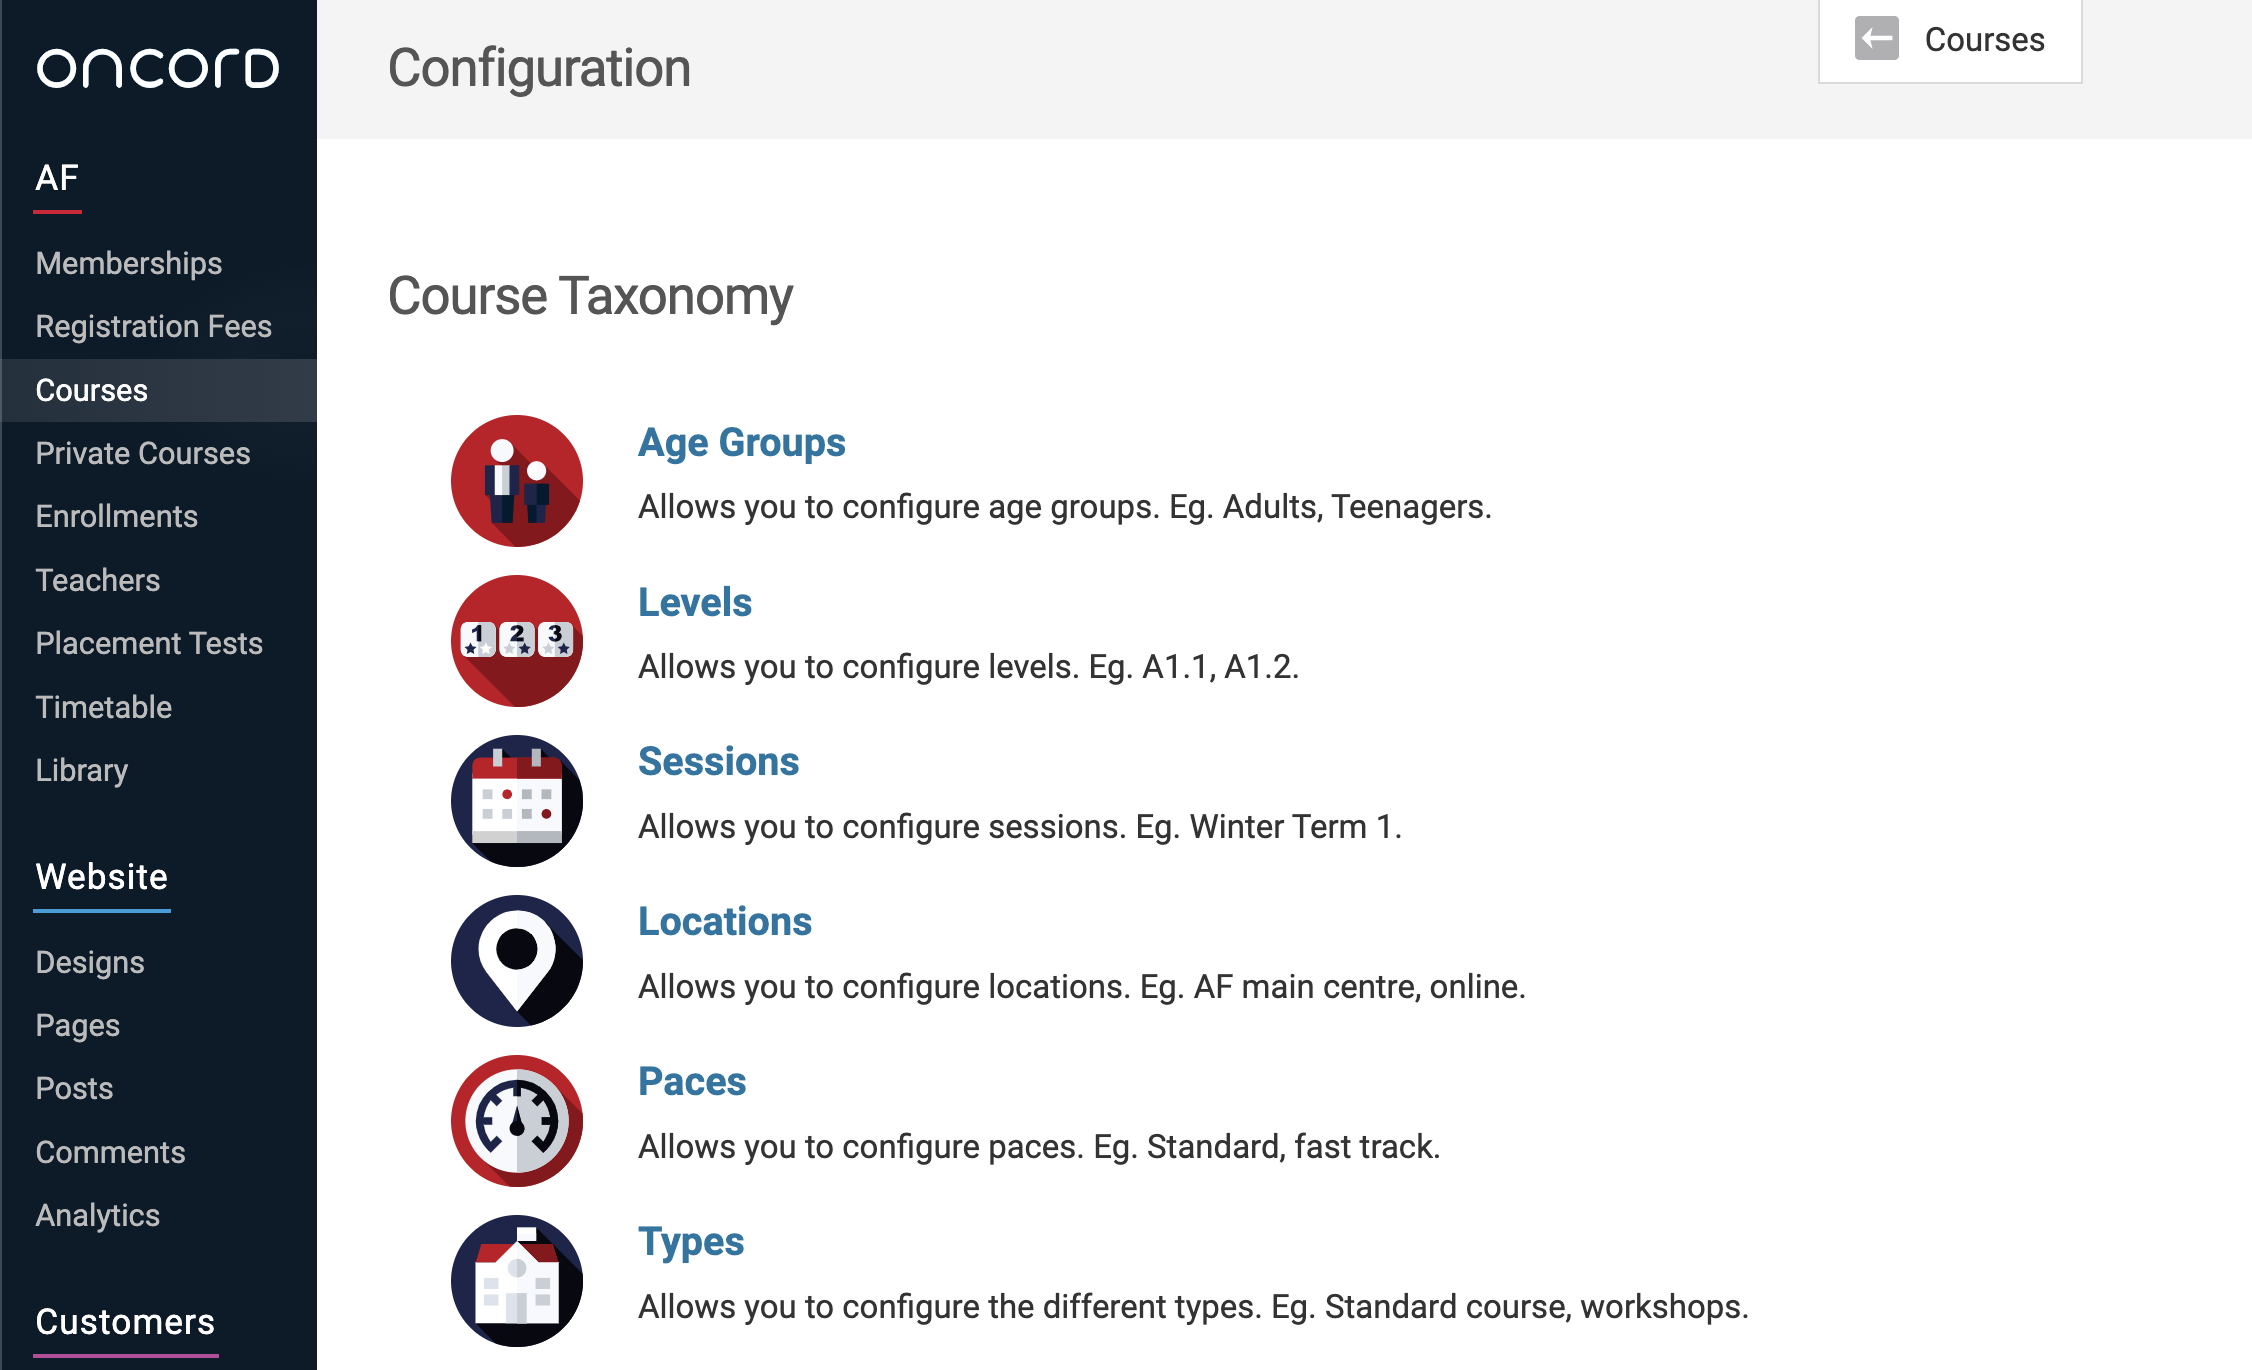
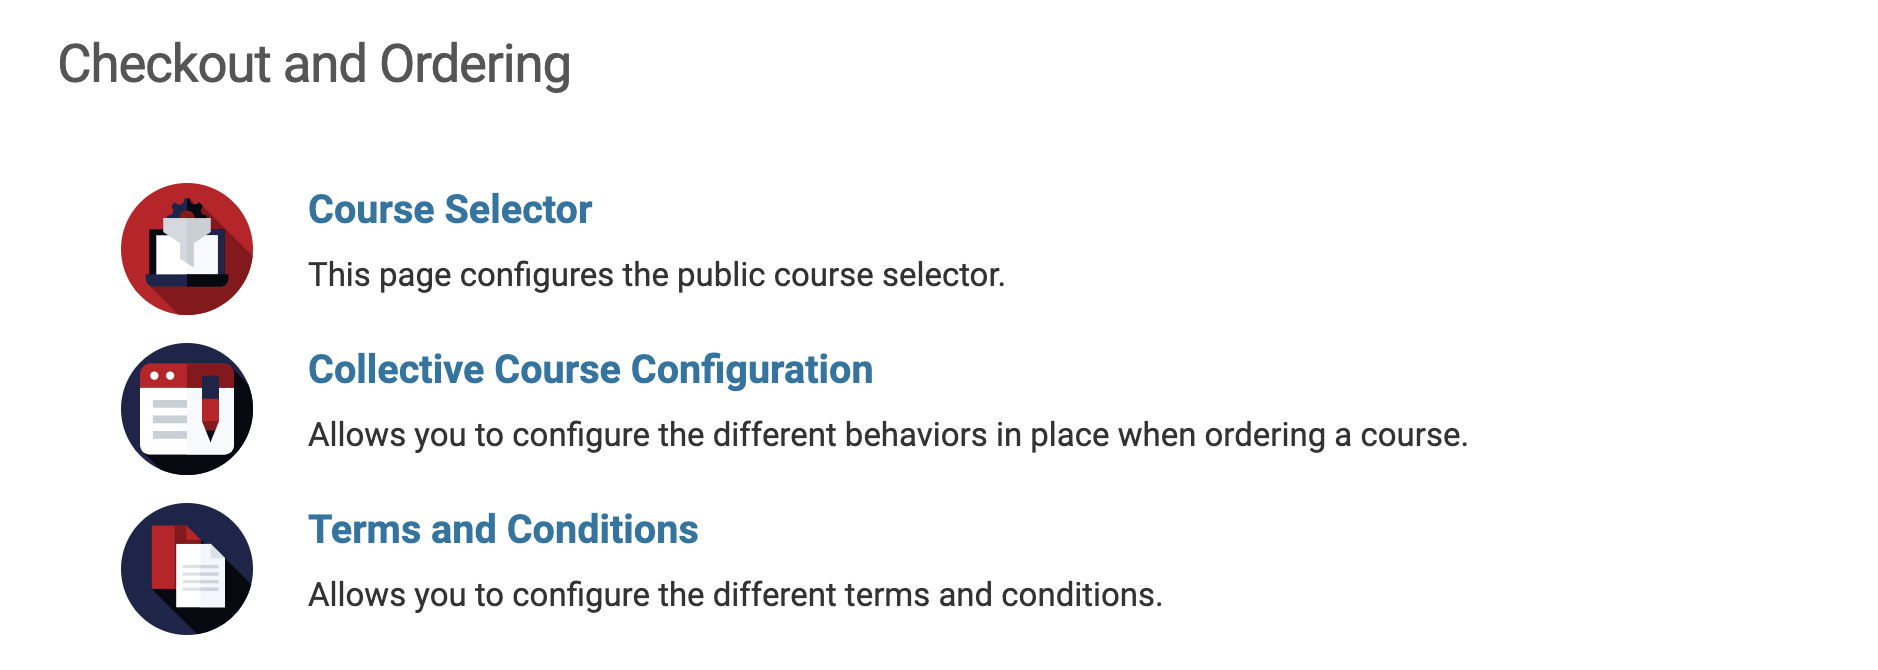
Configuration Settings:
Where to find the Configuration Settings
Adding your Class Locations
Locations will help you set up all the different types of locations for where your courses and activities will run. Locations help both your team and students know where a course is going to take place and keep track of which spaces are being used or are free at any given time in the course and event timetable/schedule.
Types of Locations
Before creating locations, it's important to understand each of the different types of locations you can create and what they are used.
The type of locations effects how and where it displays and is used throughout the system. Below outlines each location type and
its use case.
Campus - The physical Alliance location/s
Campus is the main / top level location type. You should always have at least one location of type 'Campus'.
This location type is used for each separate location/address your Alliance has. If your Alliance has multiple locations you will
create multiple locations of type 'Campus'.
Note: If you only have one physical location, and you teach online courses, you'd also create a 'Campus' type location for 'Online'.
Buildings
The location type 'Building' is only used if your Alliance has more than one building at a 'Campus' location.
Create a 'Building' location type for each separate building at your Alliance's physical location (Campus).
Classrooms
The location type 'Classroom' is used when you have multiple classrooms at your physical location/s.
Creating each classroom as a location can be helpful, especially when you have multiple classrooms at your physical location. It
allows you to keep track of which classrooms are empty at what times and the system can detect conflicts if you're trying to schedule in a
new course into a classroom that is already in use at that day/time.
If you teach online courses, you can also create a classroom location for these, such as 'Online via Zoom'.
If you have multiple Zoom accounts used for online courses you can also create these as classrooms e.g. Zoom 1, Zoom 2, Zoom 3 as you would
for each of your physical classrooms.
This type can also be used for other rooms at the Alliance where you hold activities, such as, a multi-purpose room.
Library
If you have a physical library at your Alliance you can use this location type when creating the library as a location.
Setting this up as a location type for courses can be helpful if you hold course types such as, workshops, exam prep or kids
activities in the library space rather than a classroom.
Cafeteria
This location type is used when you have a Cafe or kitchen space that is used for activities at your Alliance.
Example: if you allow private classes to be taught in the Cafe rather than a classroom, you would create the Cafe as a location and
use this location type.
Creating Locations
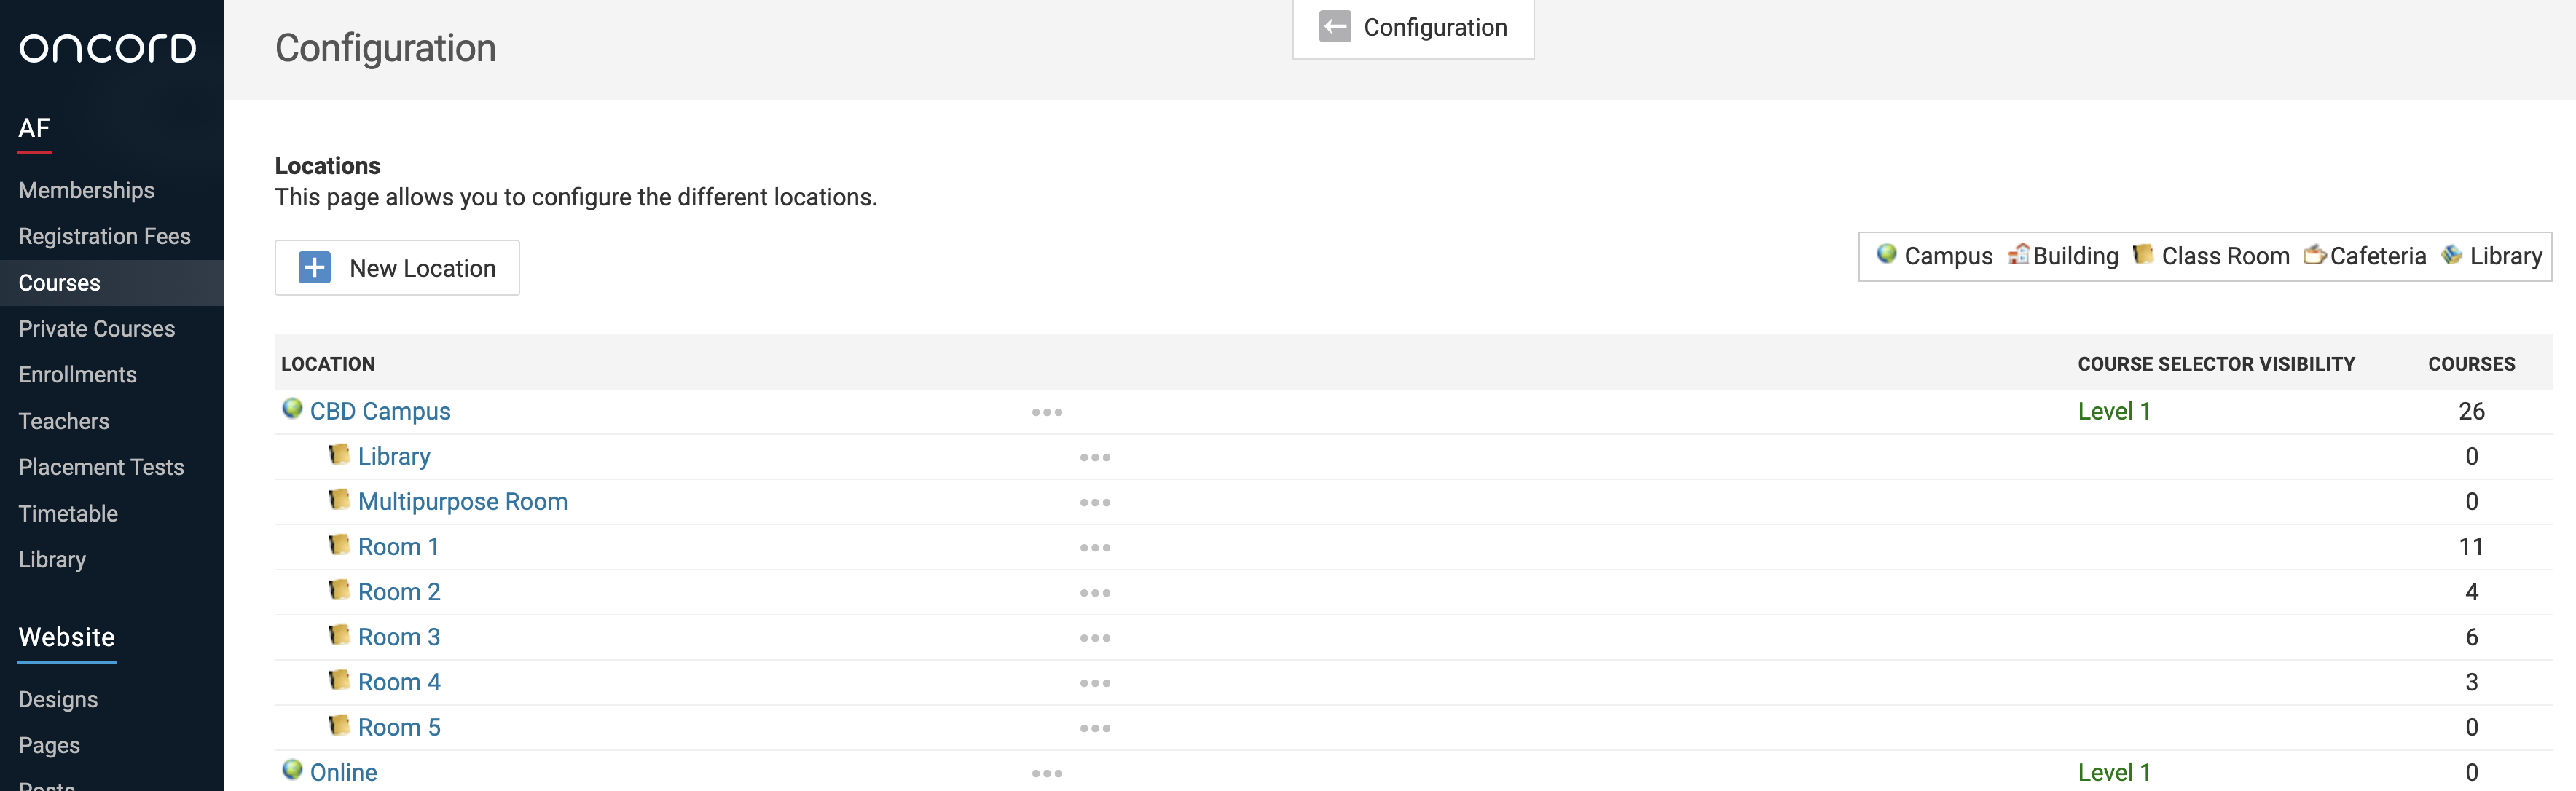
Select the appropriate location type according to the types of locations outlined above.

Once you're done, scroll down the page and click 'Save'.
Recommended:
Creating Age Groups
The 'Age Group' parameter allows you to create and manage all the different age groups you're selling courses to, such as ' Adults', 'Children', 'Teens' and 'Seniors'.
When creating your age group, you're able to set a name, specify an age bracket, add a parent age group, set the certificate template.
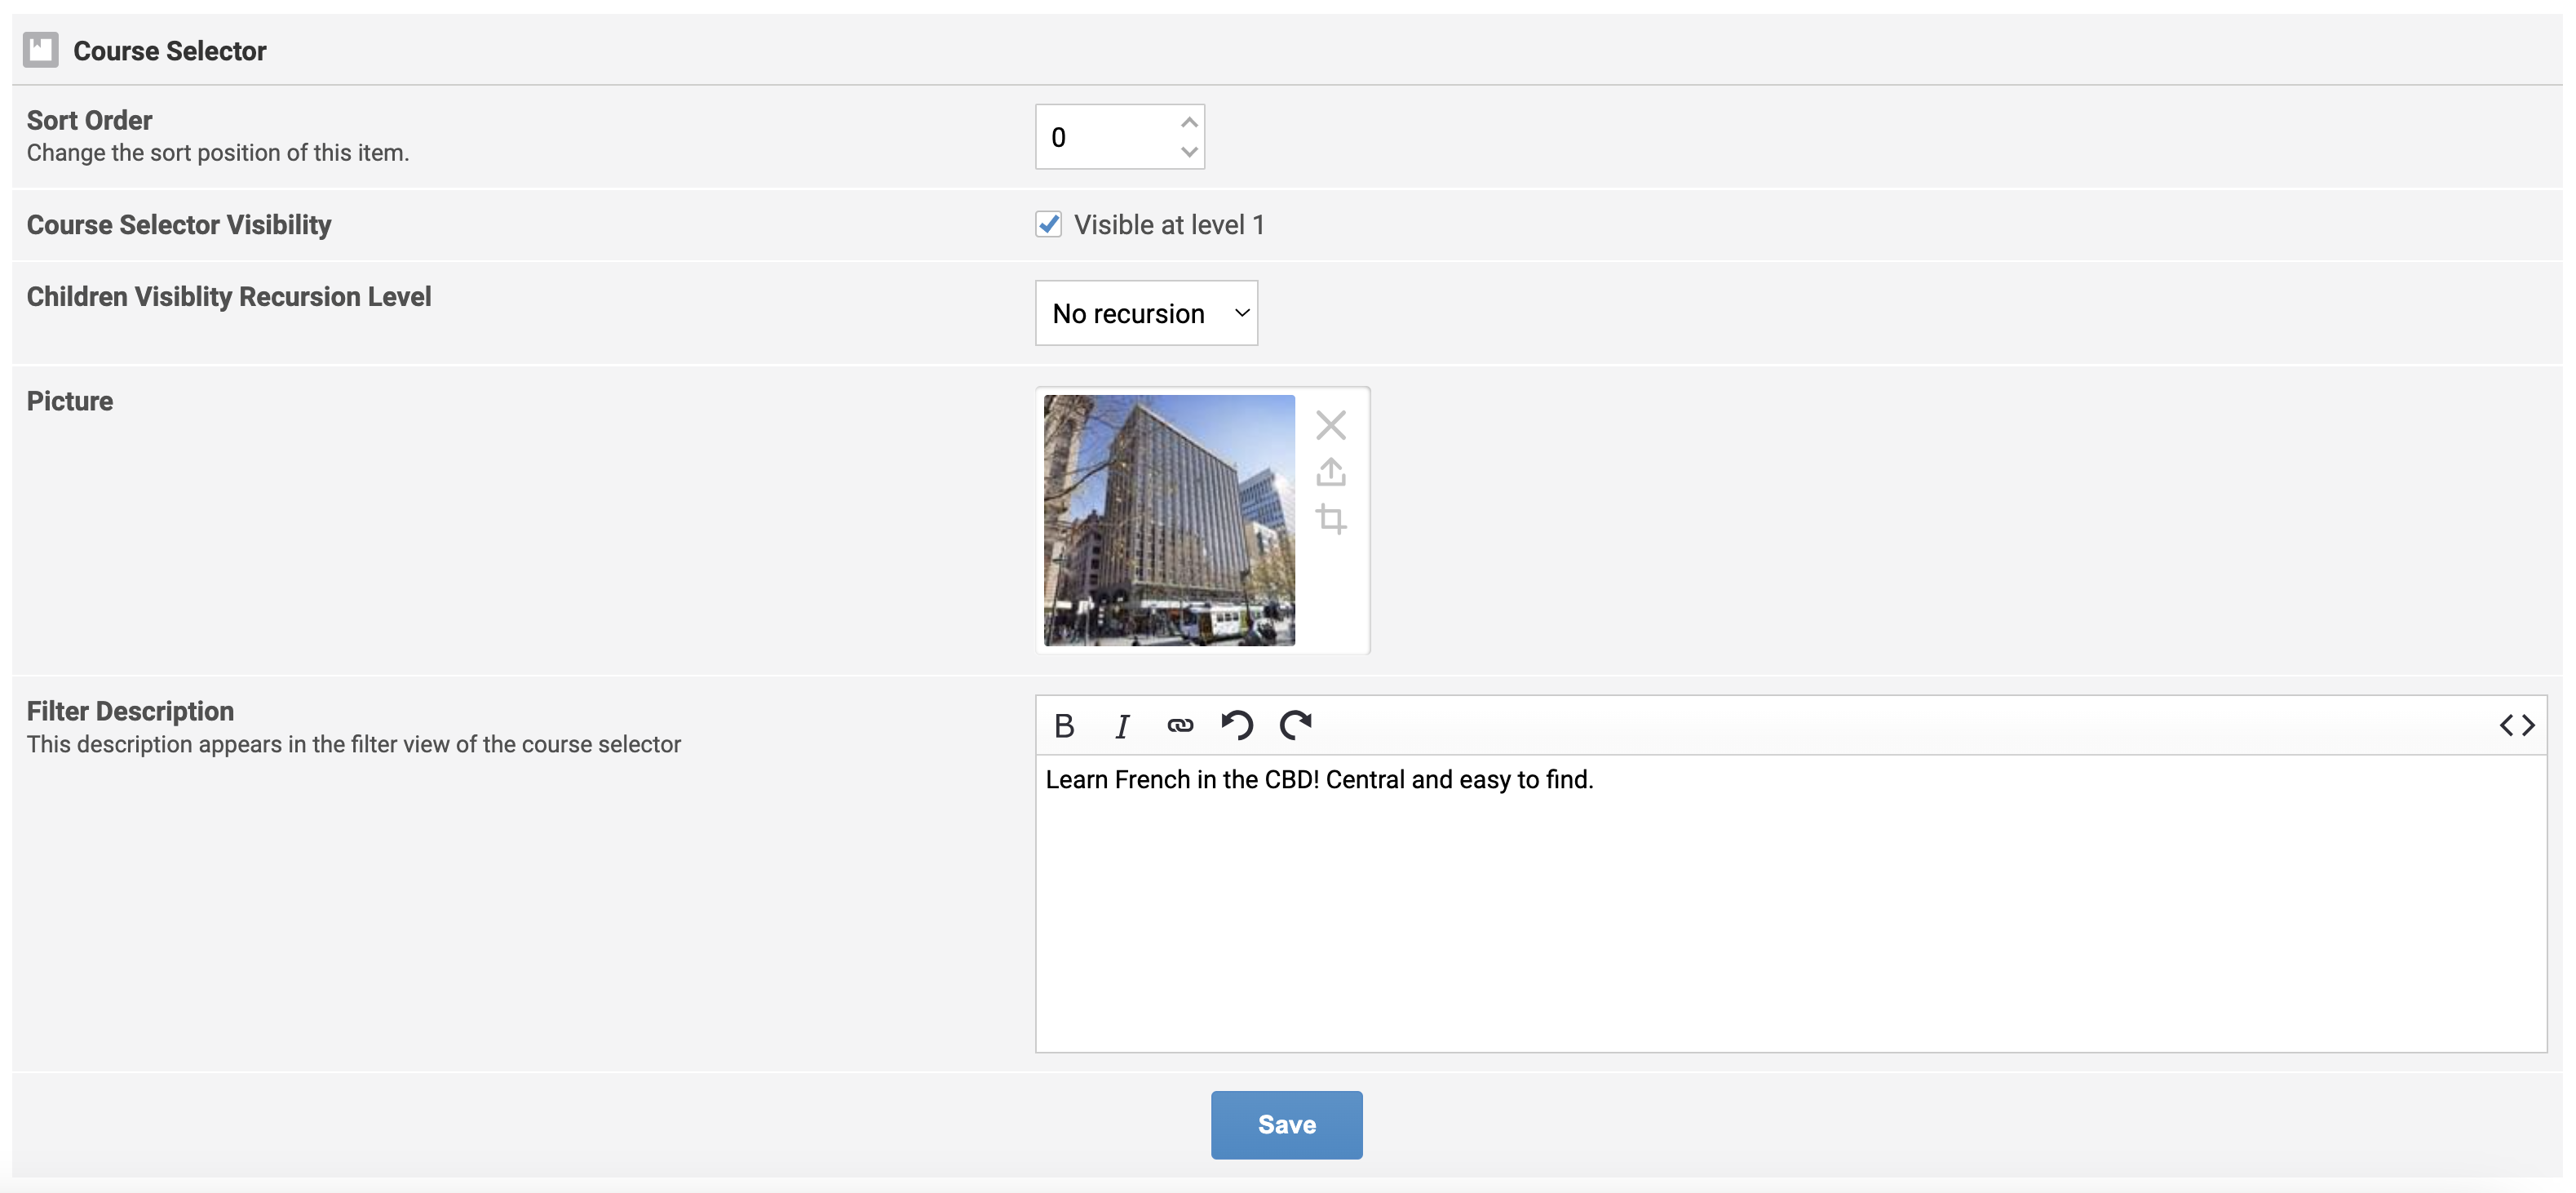
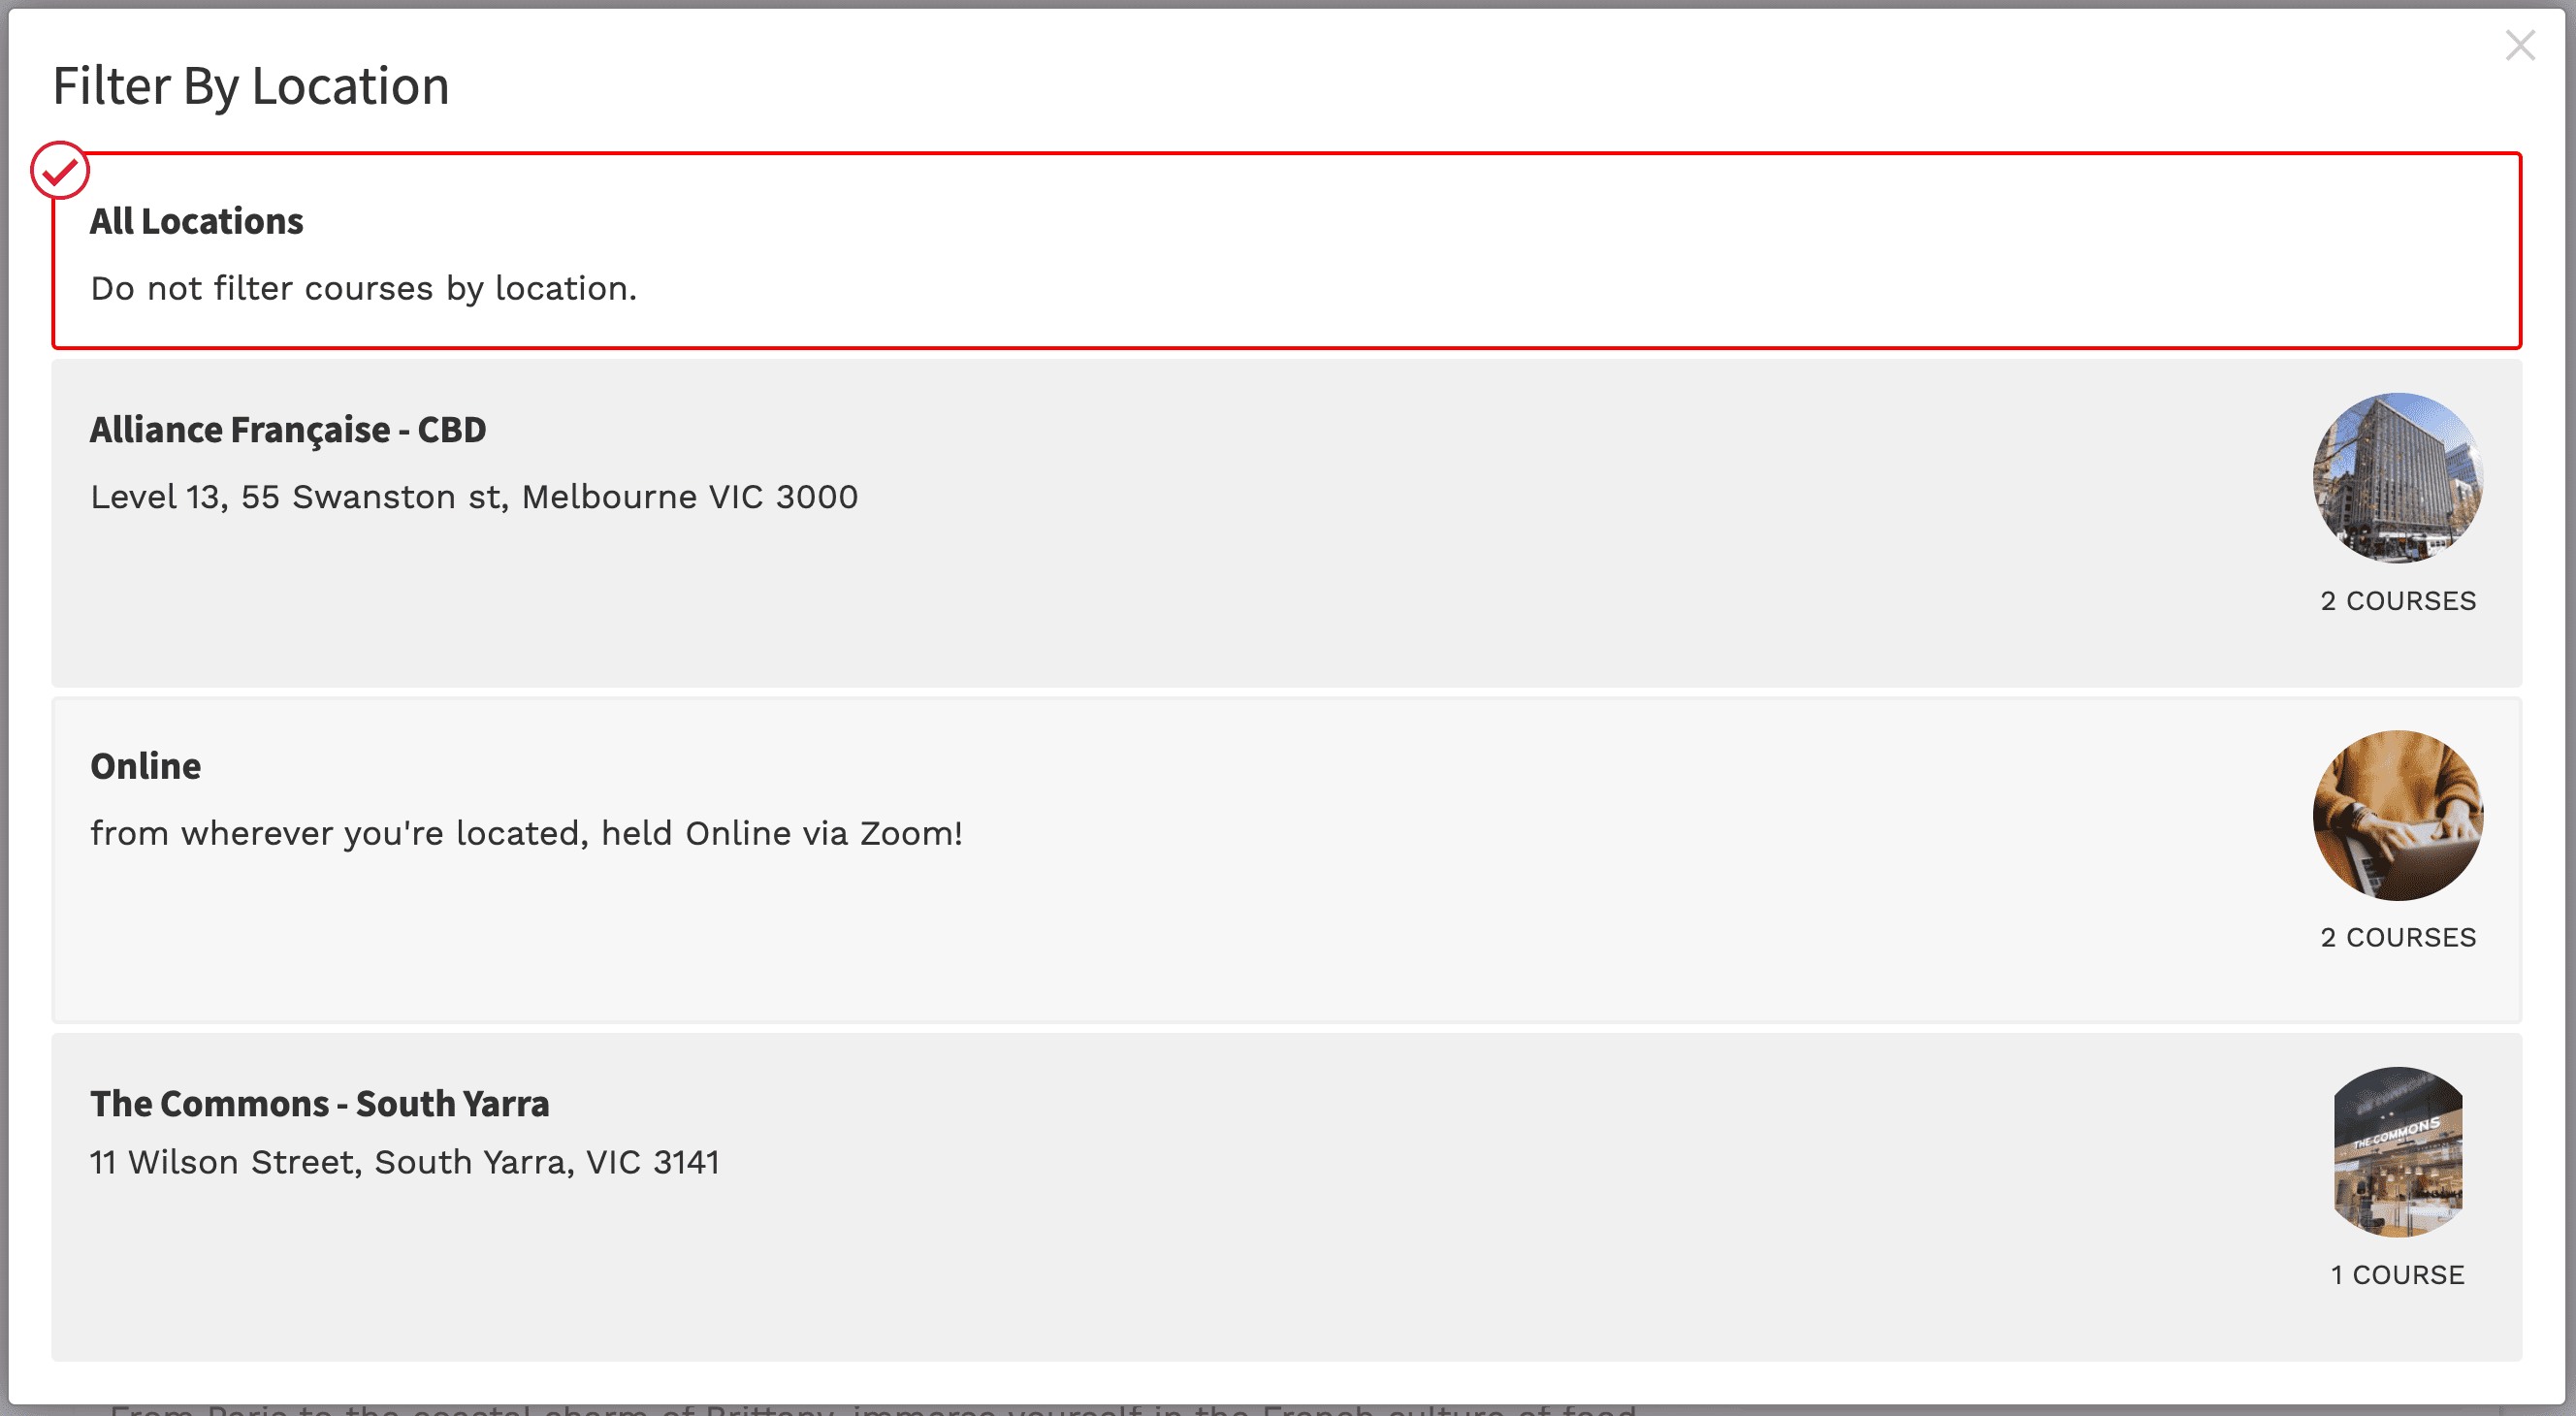
You can also add a picture and a short description. These same as locations appear within the filter view of the course selector.
Don't forget to scroll to the bottom and hit 'Save'.
Create your Levels
Go into Courses > Configuration > Levels > Add Level.
Set a name, add the level objectives and set an age group.
If the level is a sub level, such as A1.1, set the Parent Level (in this case A1).
Levels can be Organisational or Part of a Progression.
Progressions are normally setup as A1.1, A1.2, A1.3 etc. and each level grants access to the next level in the progression. (see the
'Grants Access To' field).
Save the level when finished.
Adding Sessions
Sessions are how you split your courses happening over the course of a year. Many AF/IF's go by the standard 'Winter', 'Summer', 'Fall' and 'Spring' sessions or a term based structure such as Term 1, Term 2, Term3 and Term 4.
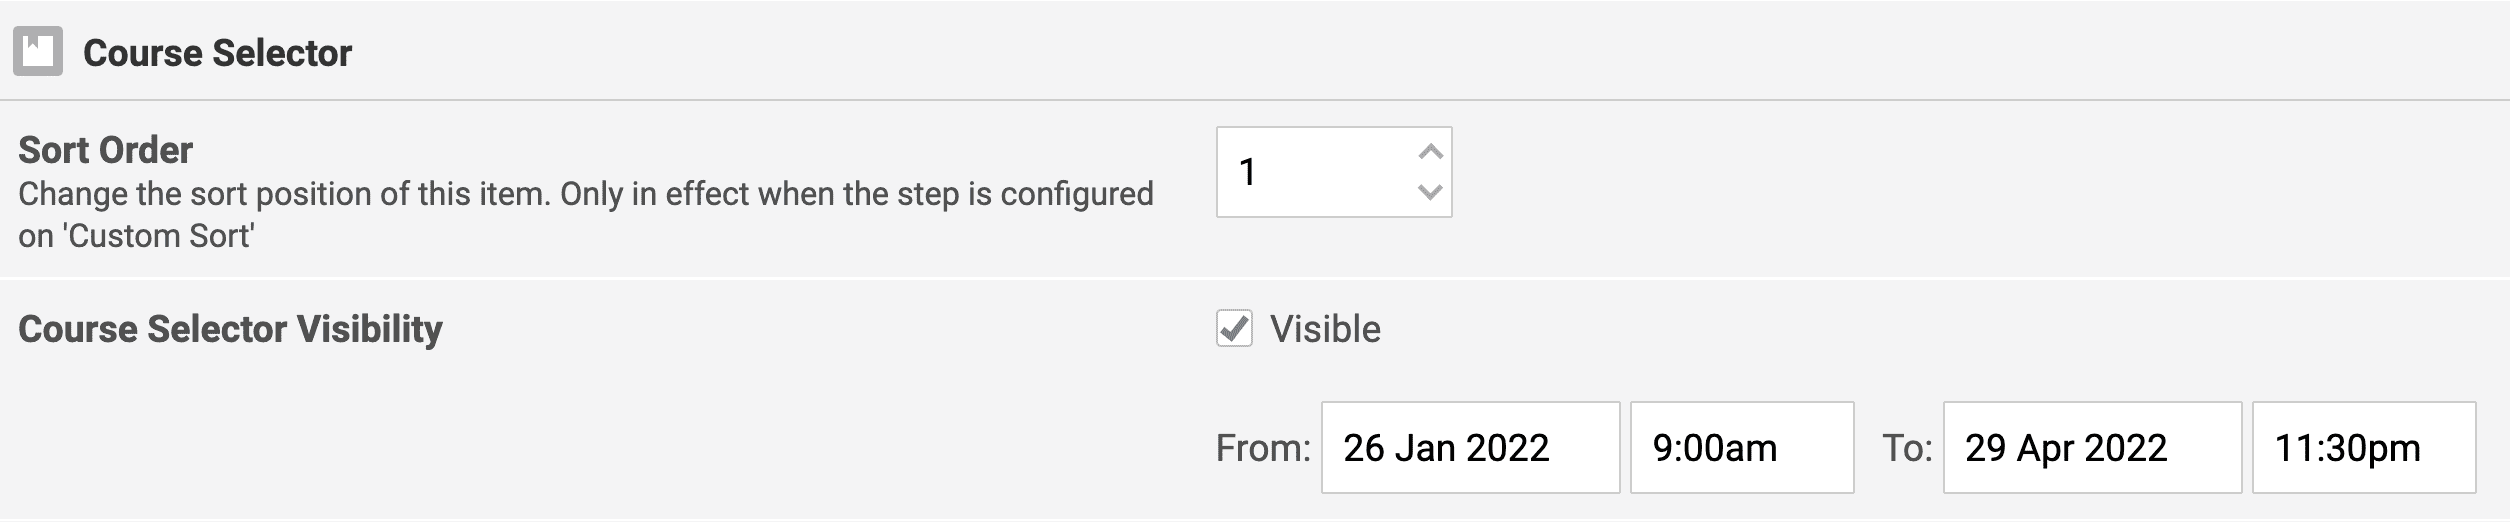
Scroll down to the course selector section. To set how and when it will appear in the course selector.
Set the sort order, tick 'Visible' and set a visible 'from' and 'to' date.
Adding Paces
Paces are used to set paces at which your courses will run. Some courses may have 1 hour units per week for 8 weeks, others may have 3 hours per/week over a set period of weeks.
Give it a name and set and hour duration. The hour duration you set is the hour duration of each class.
So if you're pace is 1 hour units per week, set the hour duration to 1.
Adding Types
The 'Types' are used to set the different types of courses you offer such as, 'Regular Classes', 'Intensive Classes', 'Conversation Classes', 'Online Courses' or 'Summer Classes'.You can also use these these types as a filter using the course link builder tool to show only that type of course on a specific page of the website such as 'Intensive Classes'.
You can also create child types, example Parent Level of 'Workshops' with child types for each type of workshops you offer, such as, 'Summer Workshops'.