Setup Placement Tests using our Pre-Built Test Templates
Oncord have developed a set of pre-built placement test templates, which can be used to setup your placement tests. This article runs through how to setup placement tests using our pre-built test templates.
We have created these placement tests template with some of the AF's using Oncord an in-line with the CEFR language framework to enable students to get an accurate estimate of their level. Pre-built templates, range from Beginner (generally involving MCQs) to advanced level (audio listening and essay writing).
Note: If you have not set up the configuration for placement tests, you will need to do that before continuing with the below setup.
See our article on setting up the configuration here: https://www.afoncord.com/help-articles/placement-tests/setup-the-configuration/
How to Create a Test Using the Pre-Built Templates
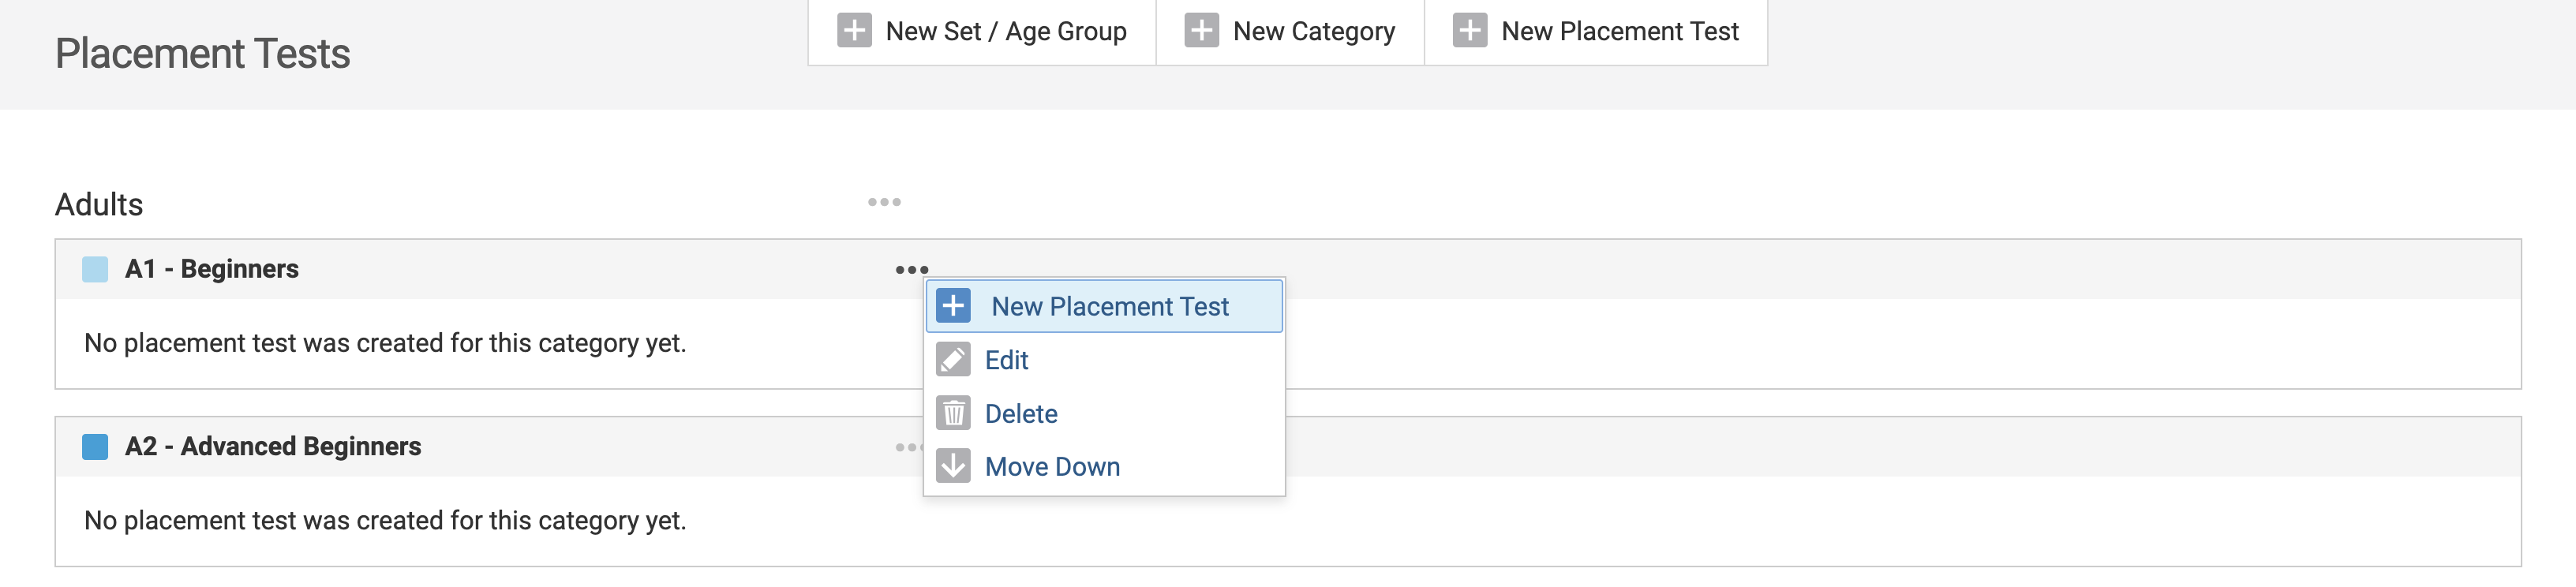
Click on + New Placement Test at the top of the page.

Or you can click on the 3 dots next to the level/category name, this will preset the new test to be assigned to that age group and
category for you.
If you clicked + New Placement Test at the top of the page, you will need to set the age group and category on the next page before continuing.

Next you will be able to select a placement test from our pre-built templates ranging from A1 to C2 and 4 additional levels related
specifically to Conversation.
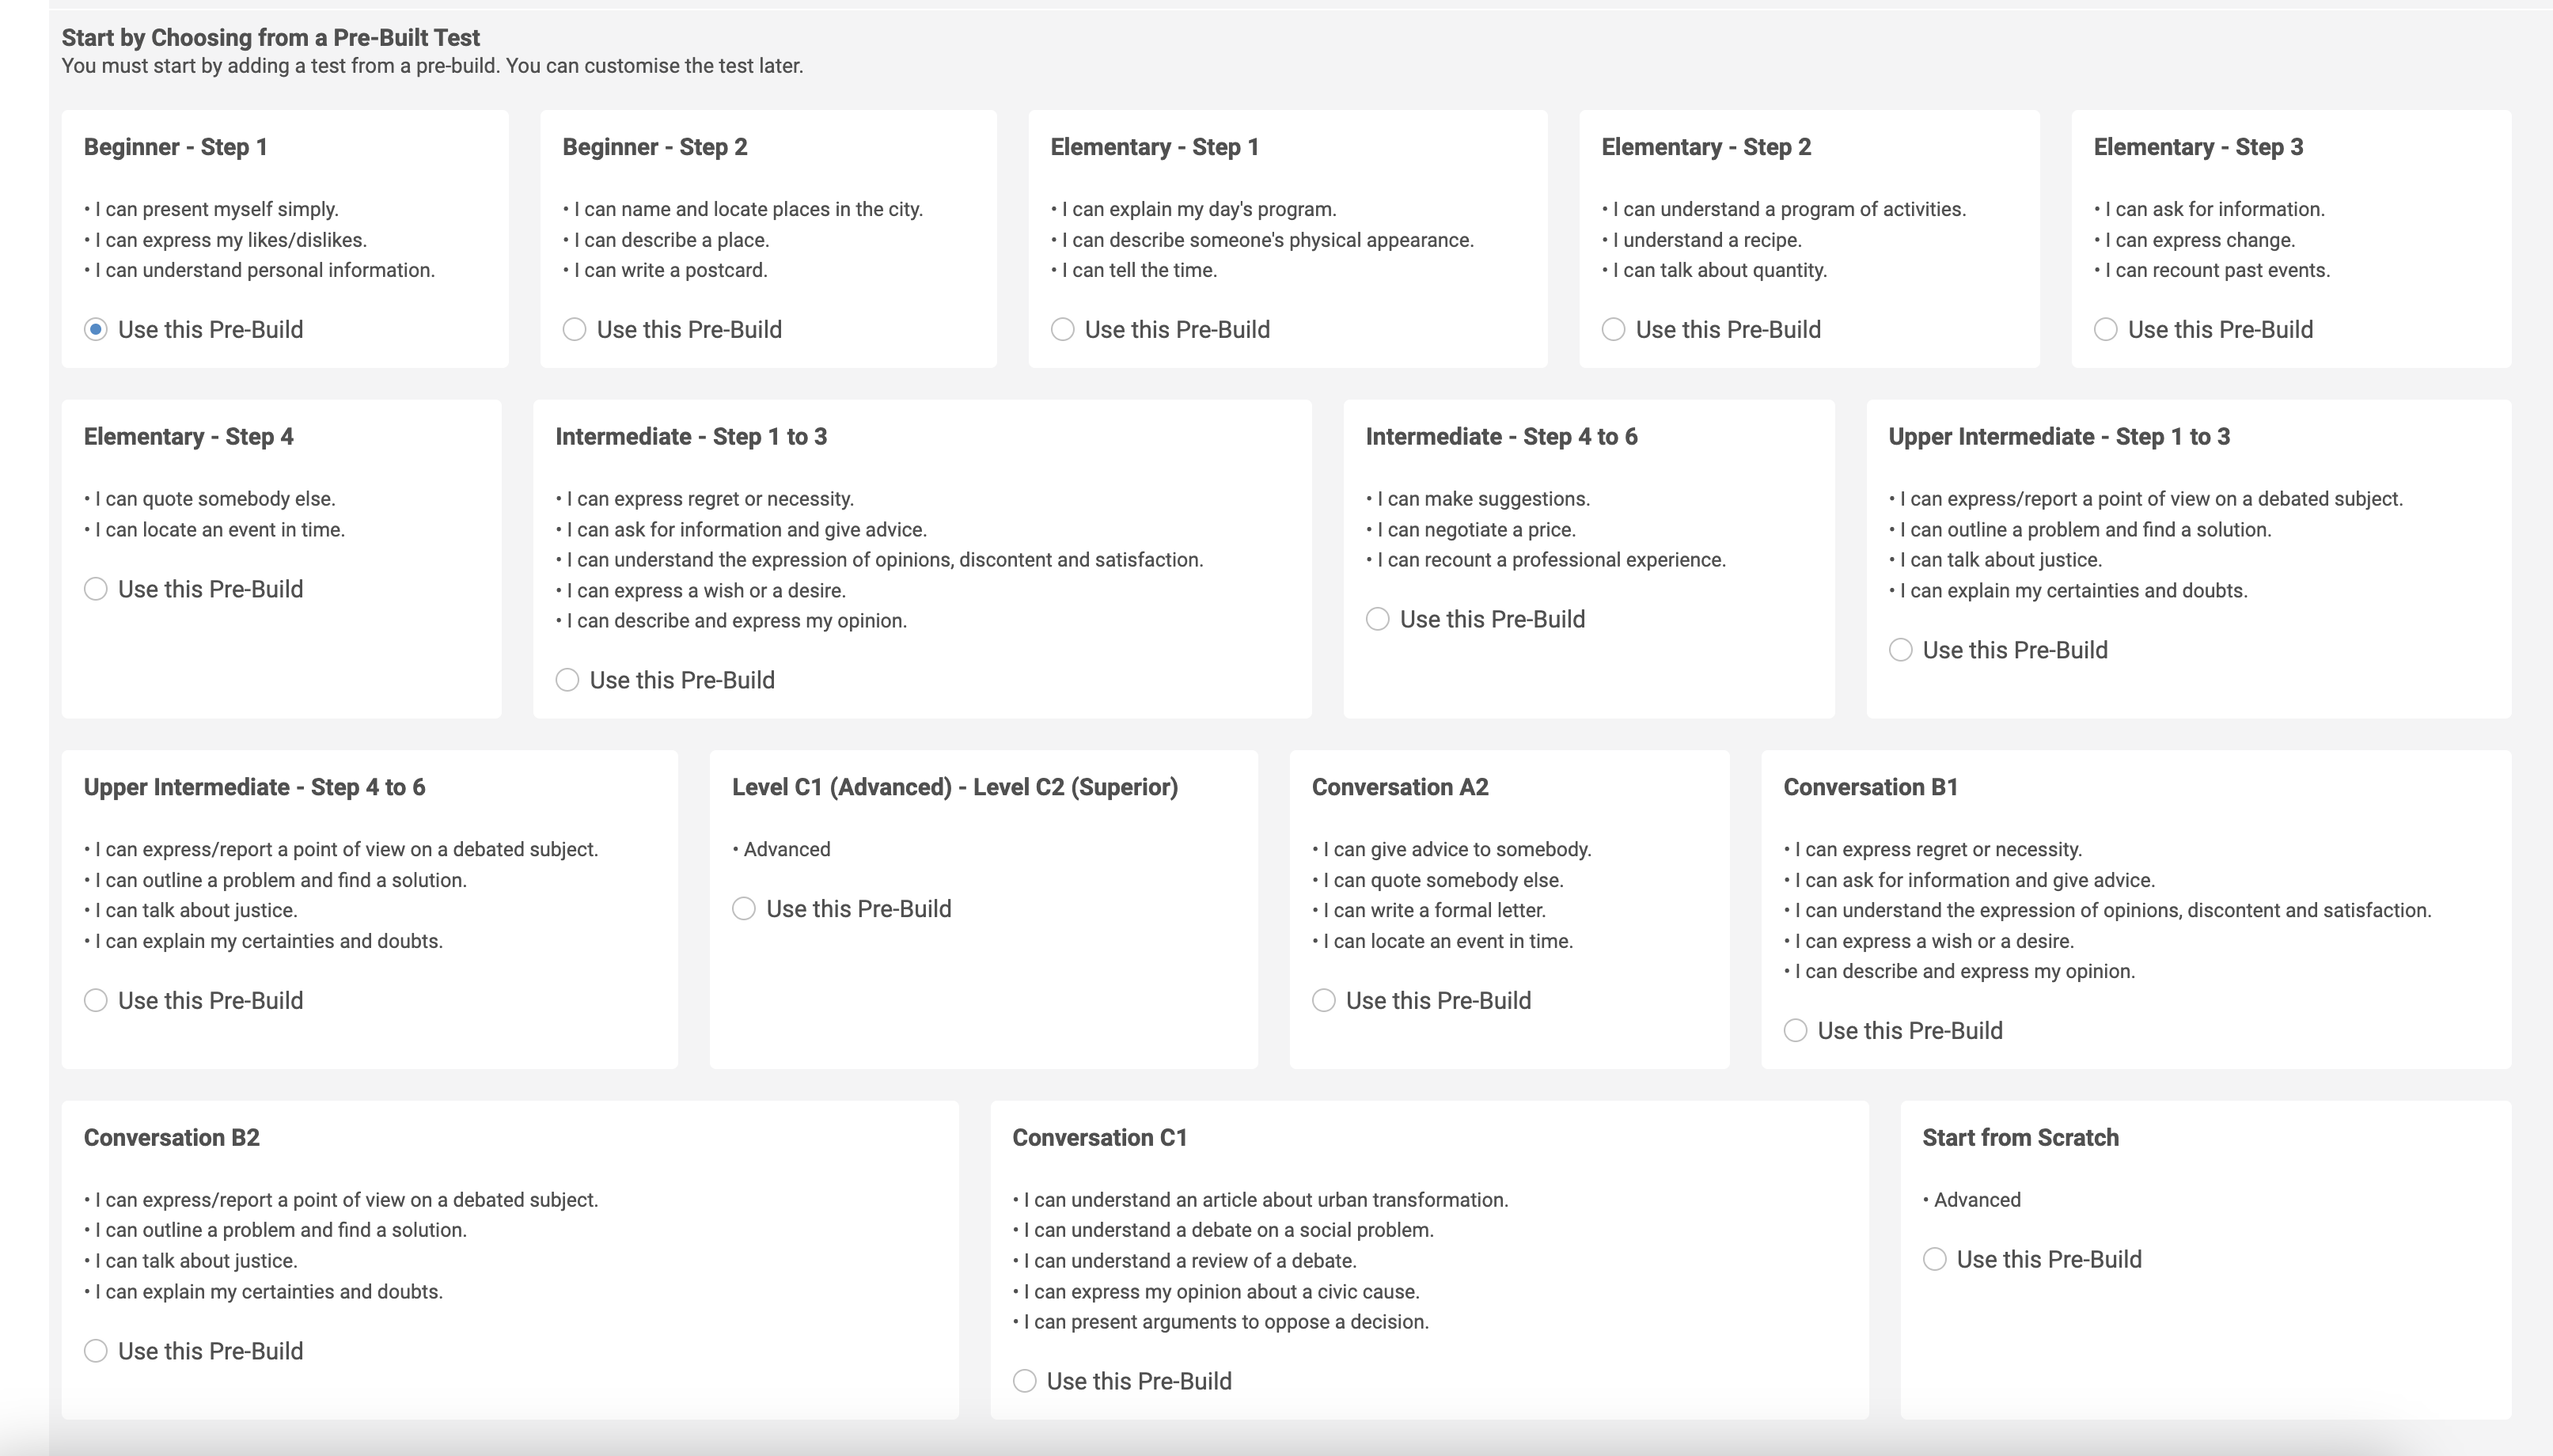
Important Note: If a pre-built test template does not exist for a specific level such as A1.3, you will need to create your own placement test from scratch for that level. Our pre-built test templates are designed to be used for a specific level only.
Each of the pre-built test templates corresponds to a specific level for example; Beginner - Step 1 is A1.1.
It will automatically generate the page address for you based on this. There is no need to modify this.

Placement Pass/Fail Settings
Scroll down the page to the Placement section. Here you can set at what percentage the student fails or passes the test.

Oncord placement tests are adaptive to the student's level. As an example, if a student tries a B1 placement test, the default settings (see screenshot below) are set so that:
- If the student gets less than 50% of answers correct in total, then the student is shifted to the level under B1 which is A2 (or the level right below B1).
- If the students gets a score between 50% and 70%, then the student is considered able at the B1 level classes and therefore stays in that level.
- If the student gets a score higher than 70%, then that student is shifted to the level higher than B1 which is B2 (or the level right above B1).
This means that if a student continuously answers questions correctly, they will be taken to the next level of test until they place at a
certain level.
Likewise, if a student is not performing really well on a test and falls below the minimum percentage of correct answer required
to place at that level, they will be taken to the test level below the one they are currently completing. This is done so that estimating a
student's level is as accurate as possible.
Automatic Placement or Manual Placement
For all placement tests you set up, you can have the system automatically assign a level to the contact or you can opt to keep it a manual process where a team member at your Alliance reviews the contacts test submission and manually assigns them a level.
To turn on automatic placement for a test click on the "Enable Automatic Placement".
Select the level that test assigns to the contacts record.
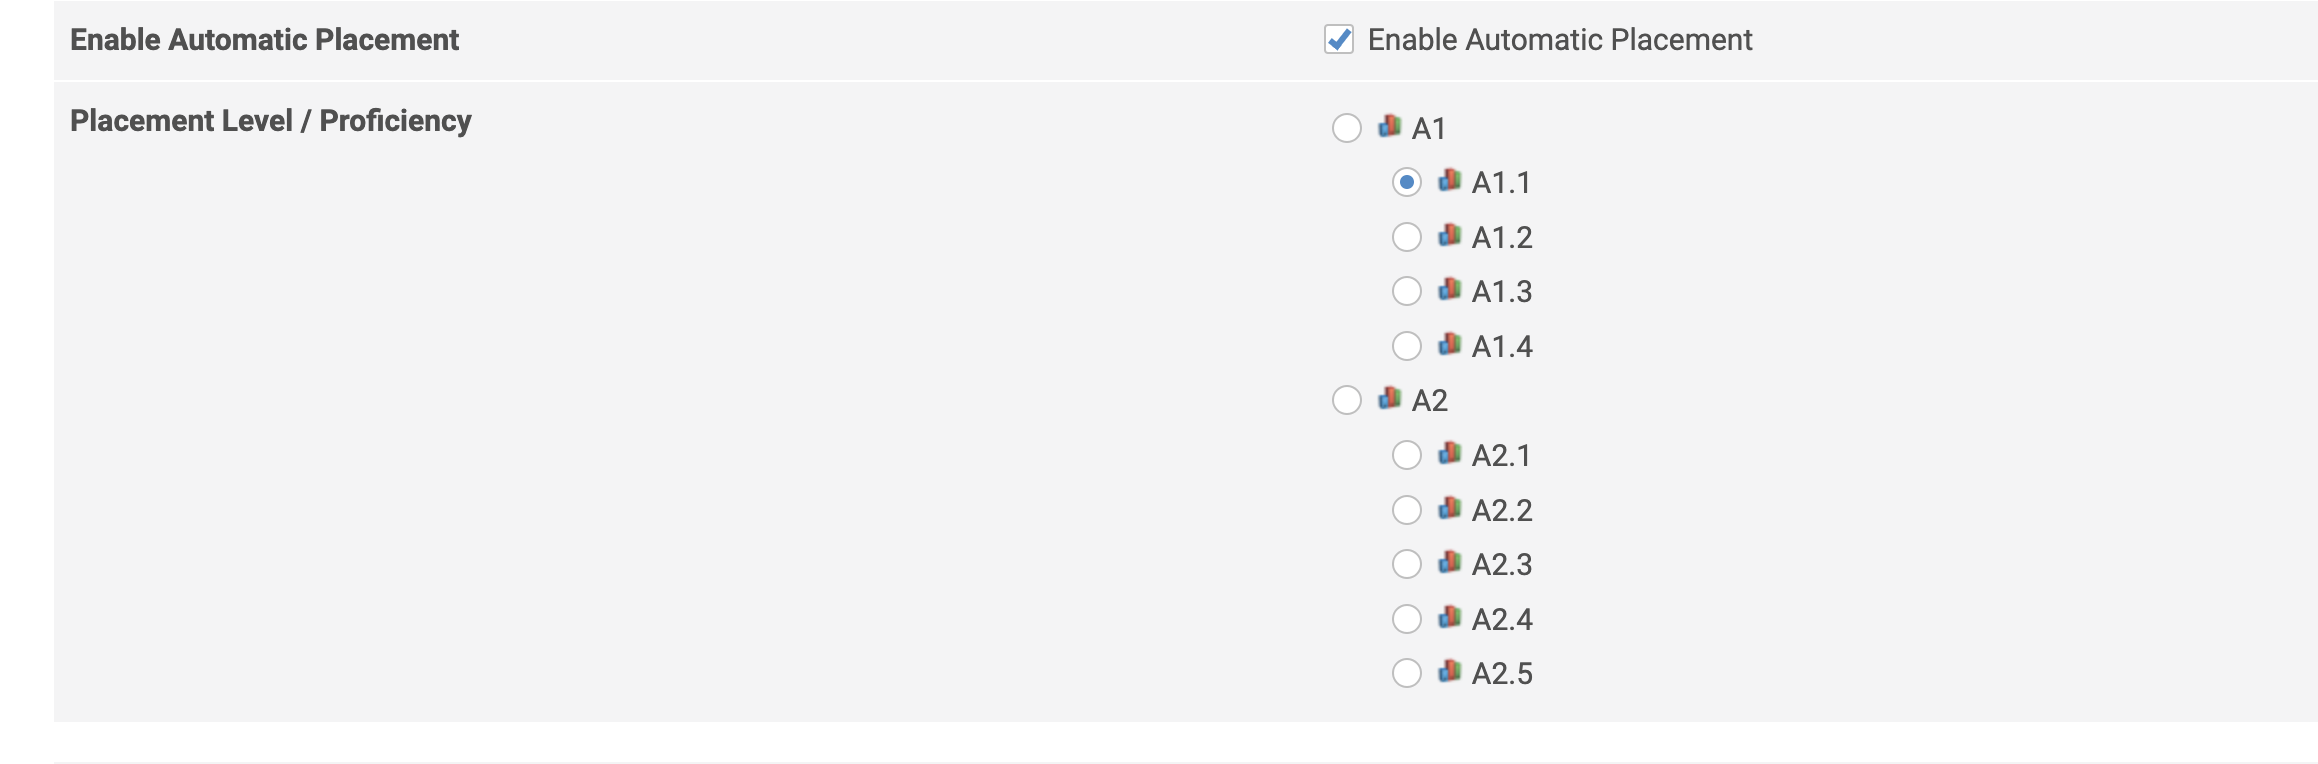
Note: If you do not have automatic placement turned on the level will not be assigned to the contacts record automatically. One of your team members will need to review their test submission/s and then assign a level on the contacts record in the "Can Enrol In" box.
Admin Notification Email
Lastly you can add an admin email address for a team member to be notified whenever a contact completes a placement test. You can add multiple email addresses here if you wish.
